 The Lexique français-anglais de la cuisine et de la restauration (French-to-English Lexicon of Cooking and Food Service) is one of those rare gems you come upon by chance. Lucky me as I am addicted to the pleasures of the table, and of language, and I’m eager to share with you my recent find.
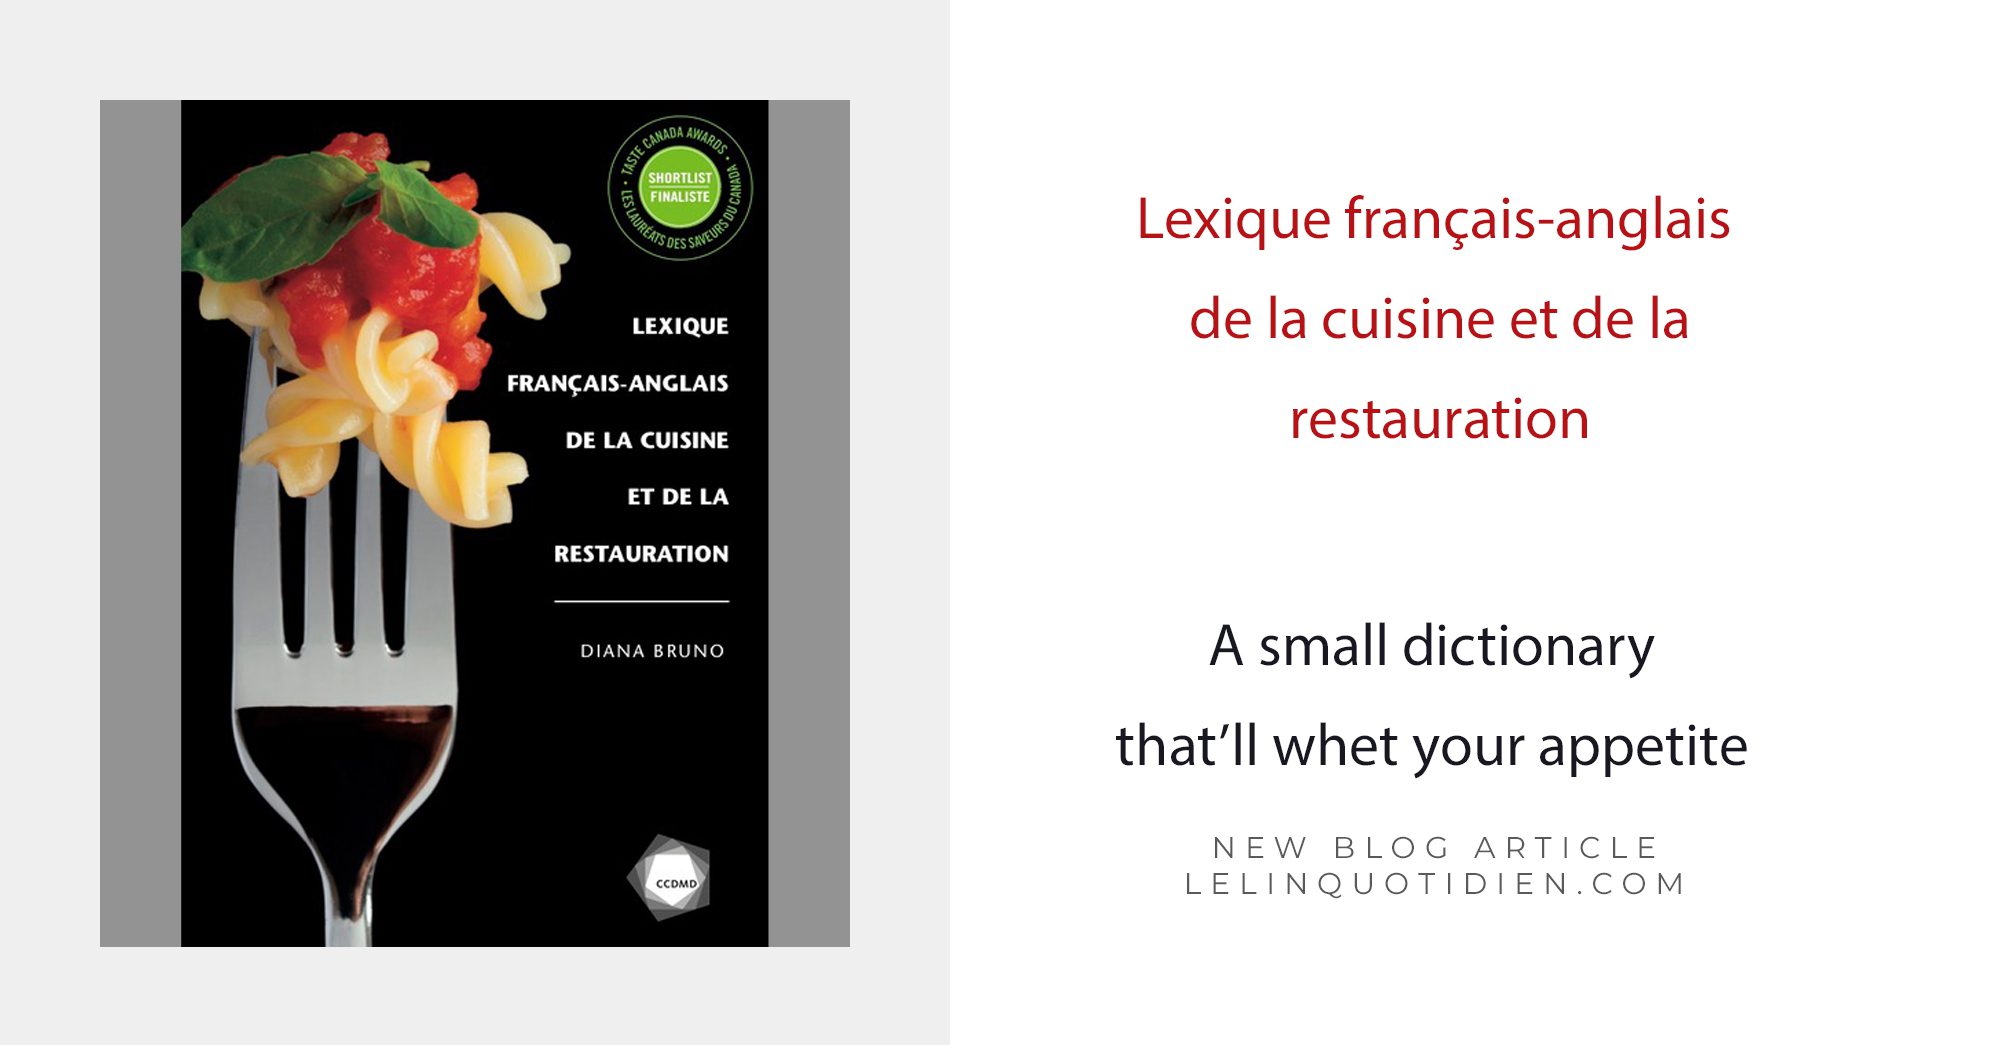
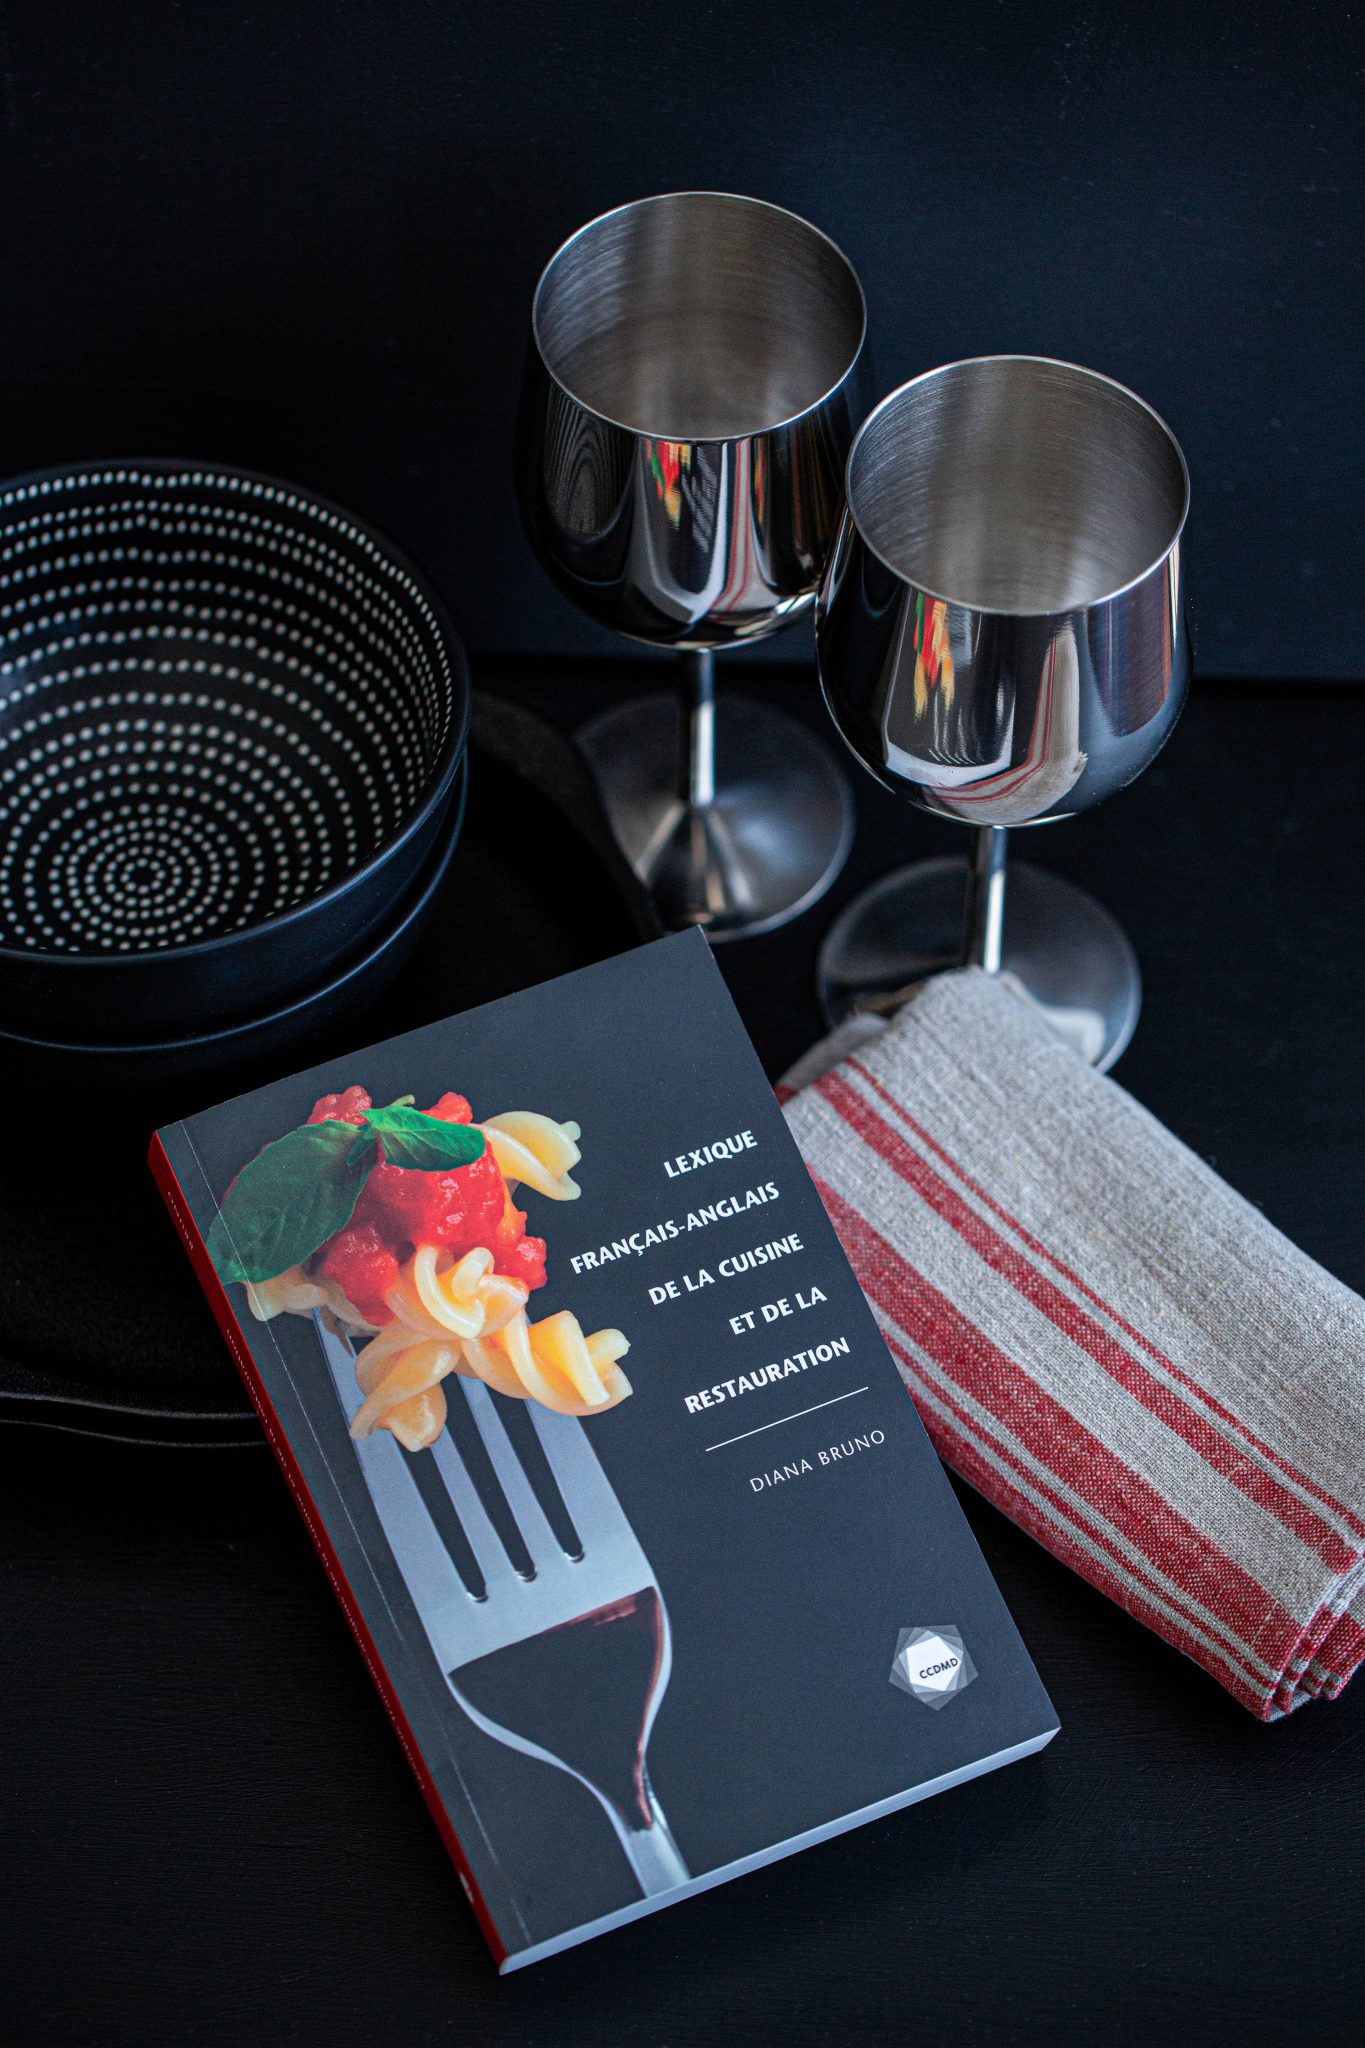
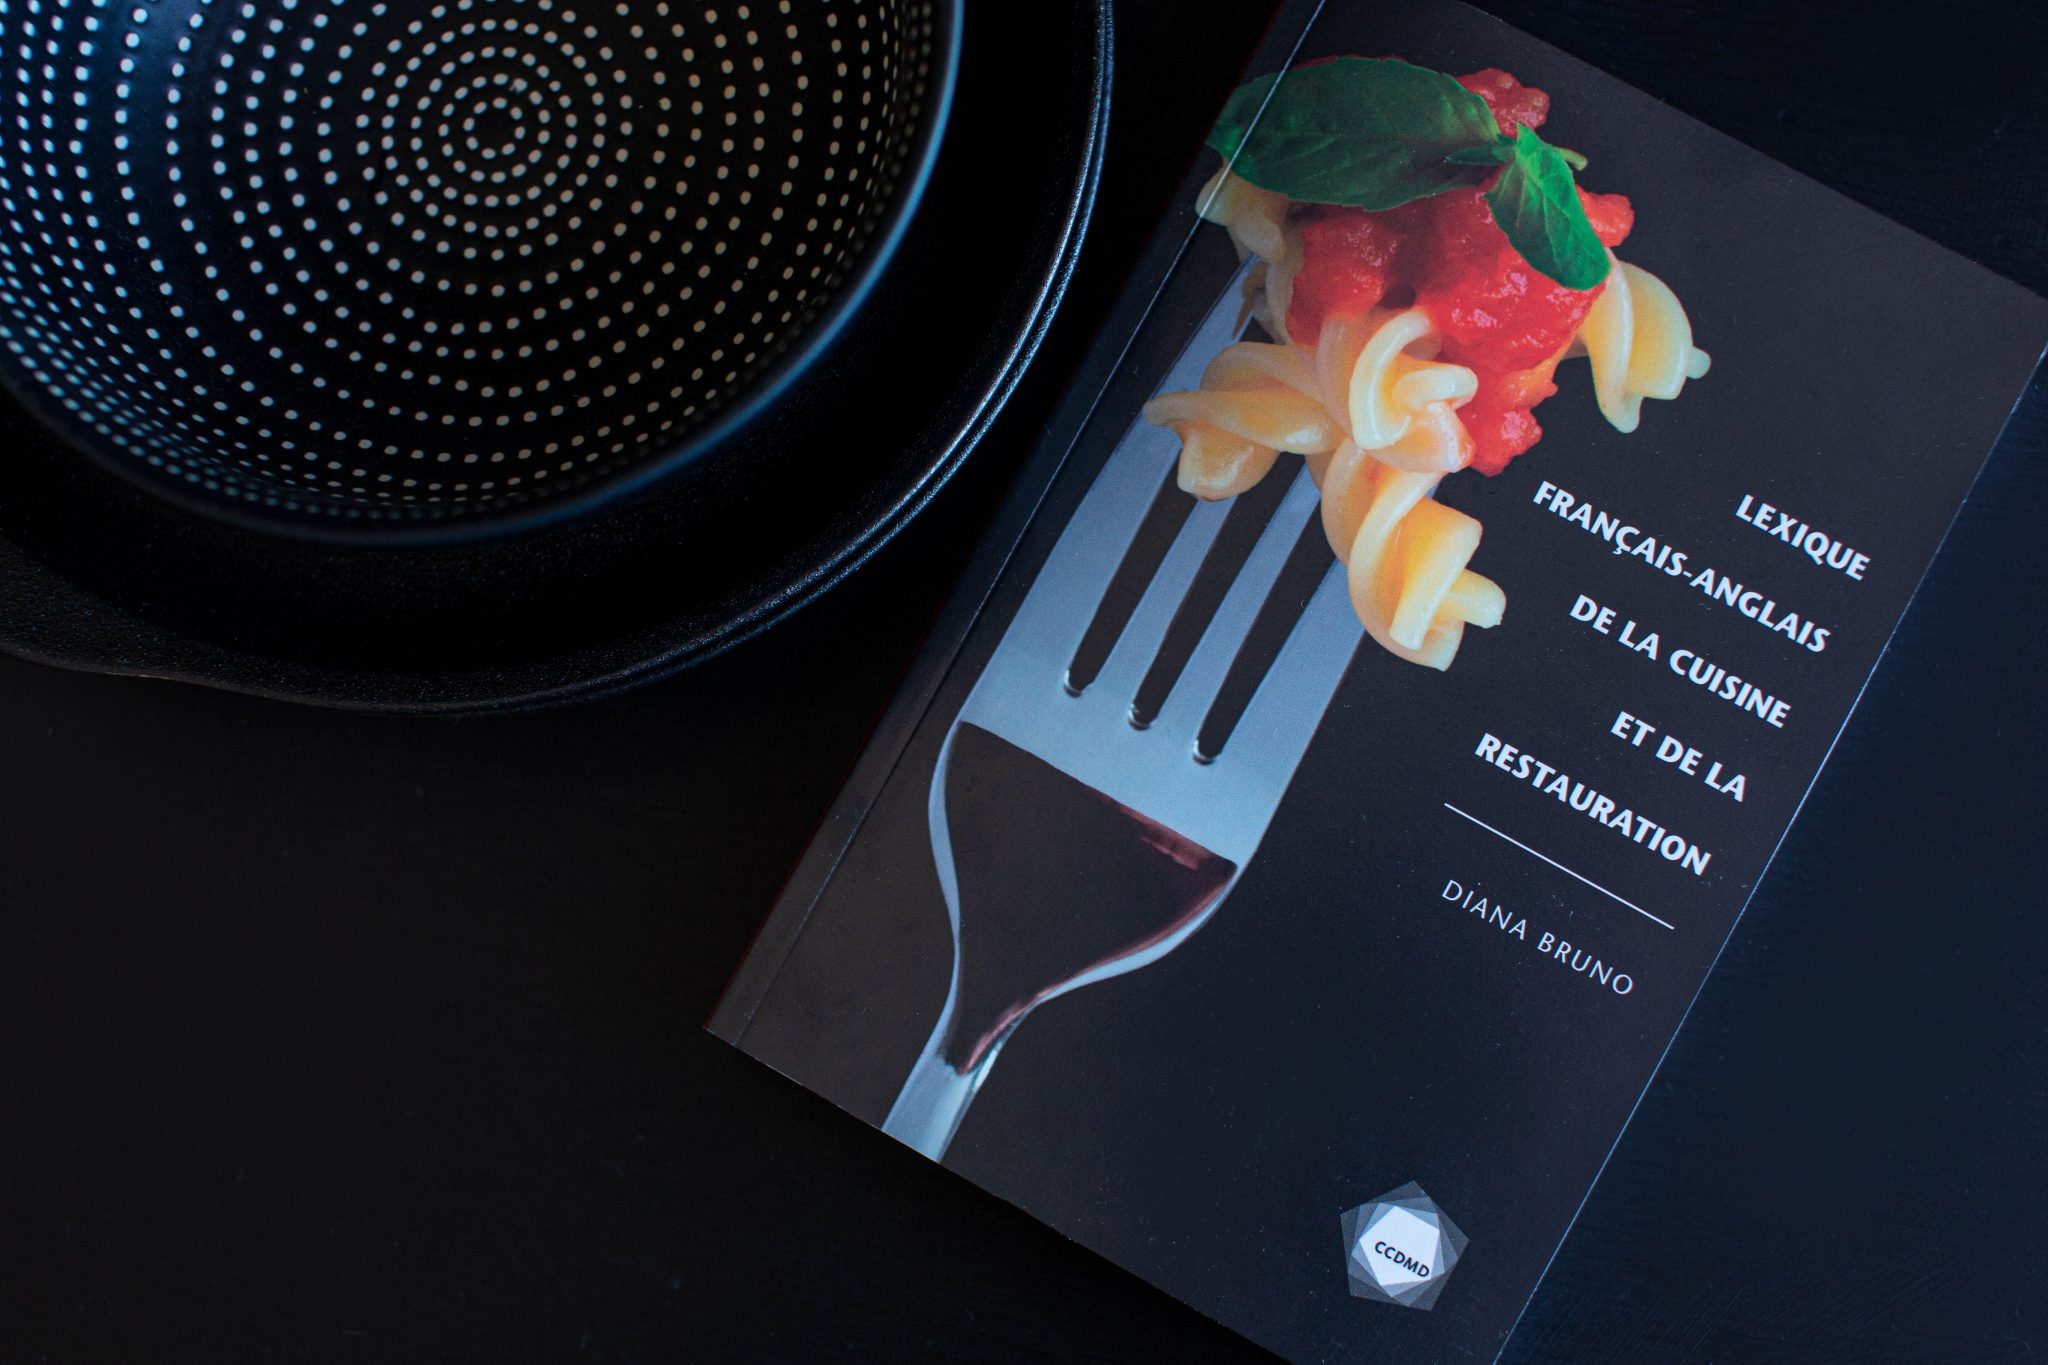
This 350-page book with over 14,000 entries opens doors to key information about the global heritage of cooking and food service, with a focus on Quebec terms. You’ll find foods, cuts of meat and fish, preparations, cooking and preparation methods, styles of service, classic culinary terms such as Crécy and à la florentine as well as names of dishes and desserts.
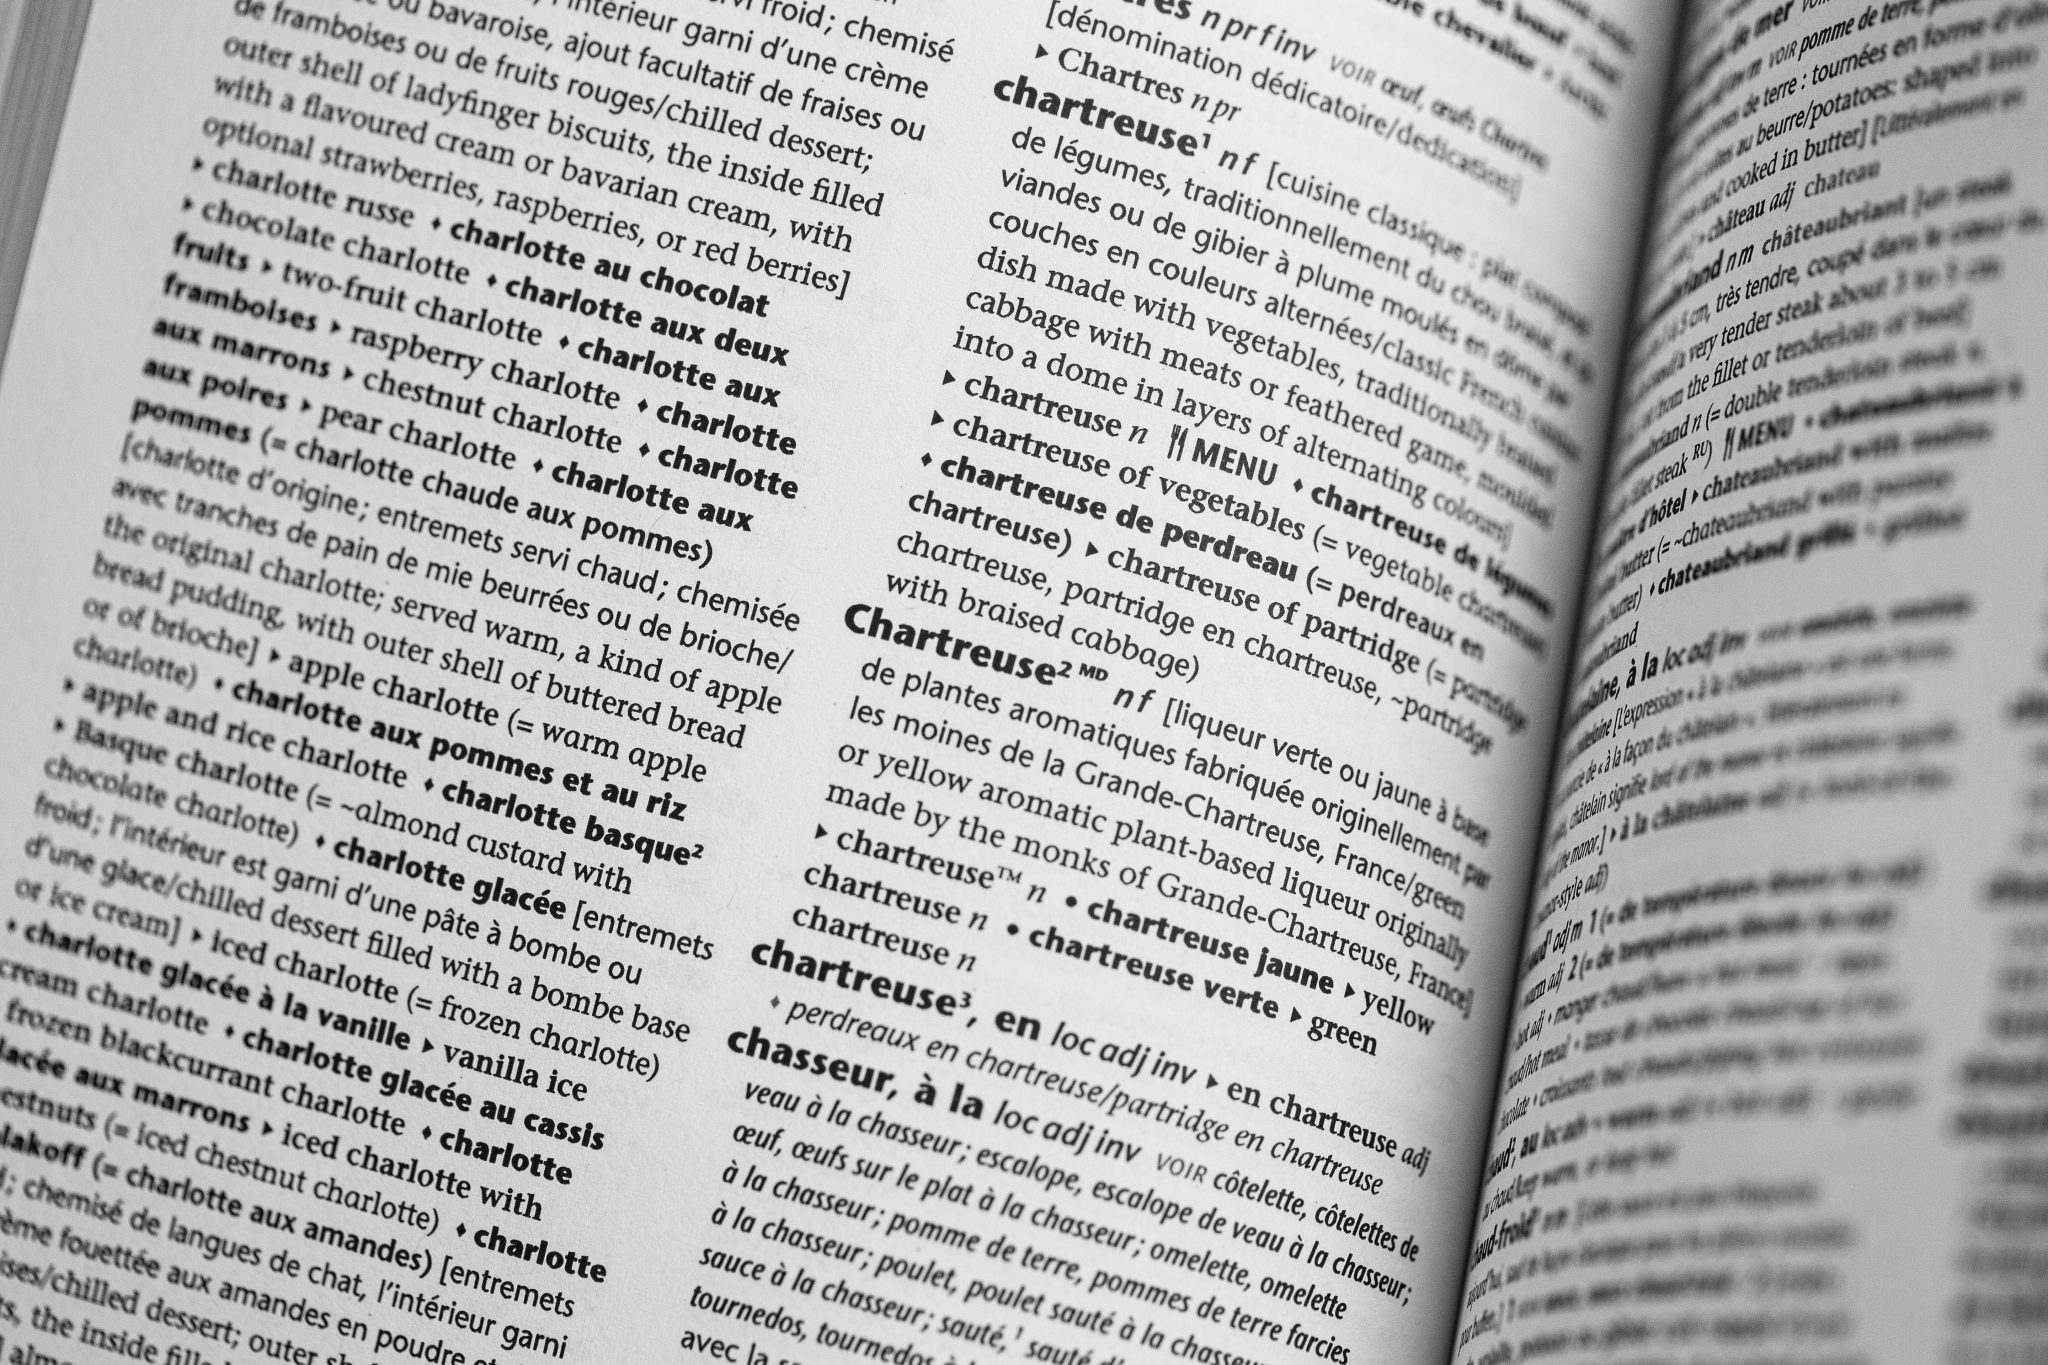
For the sheer pleasure of words, here’s a sampling of terms and definitions, poetic or delicious or both. First off, the word puits, as in faire un puits dans la farine, or make a well in the flour. Then there’s puits d’amour, literally ‘well of love’, a dessert that’s a well-shaped small round puff pastry base topped with a ring of cream puff pastry, filled with vanilla pastry cream or praline pastry cream or jam. Next up, sambuca, a sweet, strong Italian liqueur flavoured with star anis, or aniseed, or both. How about farlouche, as in tarte à la farlouche which my grandmother would often talk about and just as often bake––Québec cuisine, pie filling, usually made with molasses, flour, and raisins. Mousseline, coquelet, omble chevalier, zakouski, à la cocotte, challah, aillade, kacha, papeton, chartreuse, Comté, confit, and so many more!
You’ll be surprised by the richness of cooking and food service language. You’ll discover not only words and their meanings, but also how they’re used and where they came from. This is a must-have reference work for everyone who wants to learn more about the world of the culinary arts.
Diana Bruno, author of the Lexique, had a long career teaching English as a second language at the Institut de tourisme et d’hôtellerie du Québec, and in-between also taught English in China and Vietnam. When you look at the lexicon, you can’t help but notice that the author took on a Herculean task that required a tremendous amount of research as well as an incredible ability to synthesize information, and more. She’s given us an original work, the fruit of a lifetime, and it’s much more than a lexicon; IMHO, it’s a work of art.
By the way, the Lexique was shortlisted in the 2020 edition of the Taste Canada Awards in the Culinary Narratives category.
The Lexique is available at the following bookstores: Renaud Bray, Indigo, Archambault as well as at the publisher, CCDMD (Centre collégial de développement de matériel didactique). While the printed version is French to English, the digital version, only available at CCDMD, allows you to search for terms in either French or English, with the equivalent provided in the other language. You can also install the digital version on your smartphone, tablet, laptop, or desktop.
For more information about the Lexique, head over to the landing page at: culinarydictionary.ca
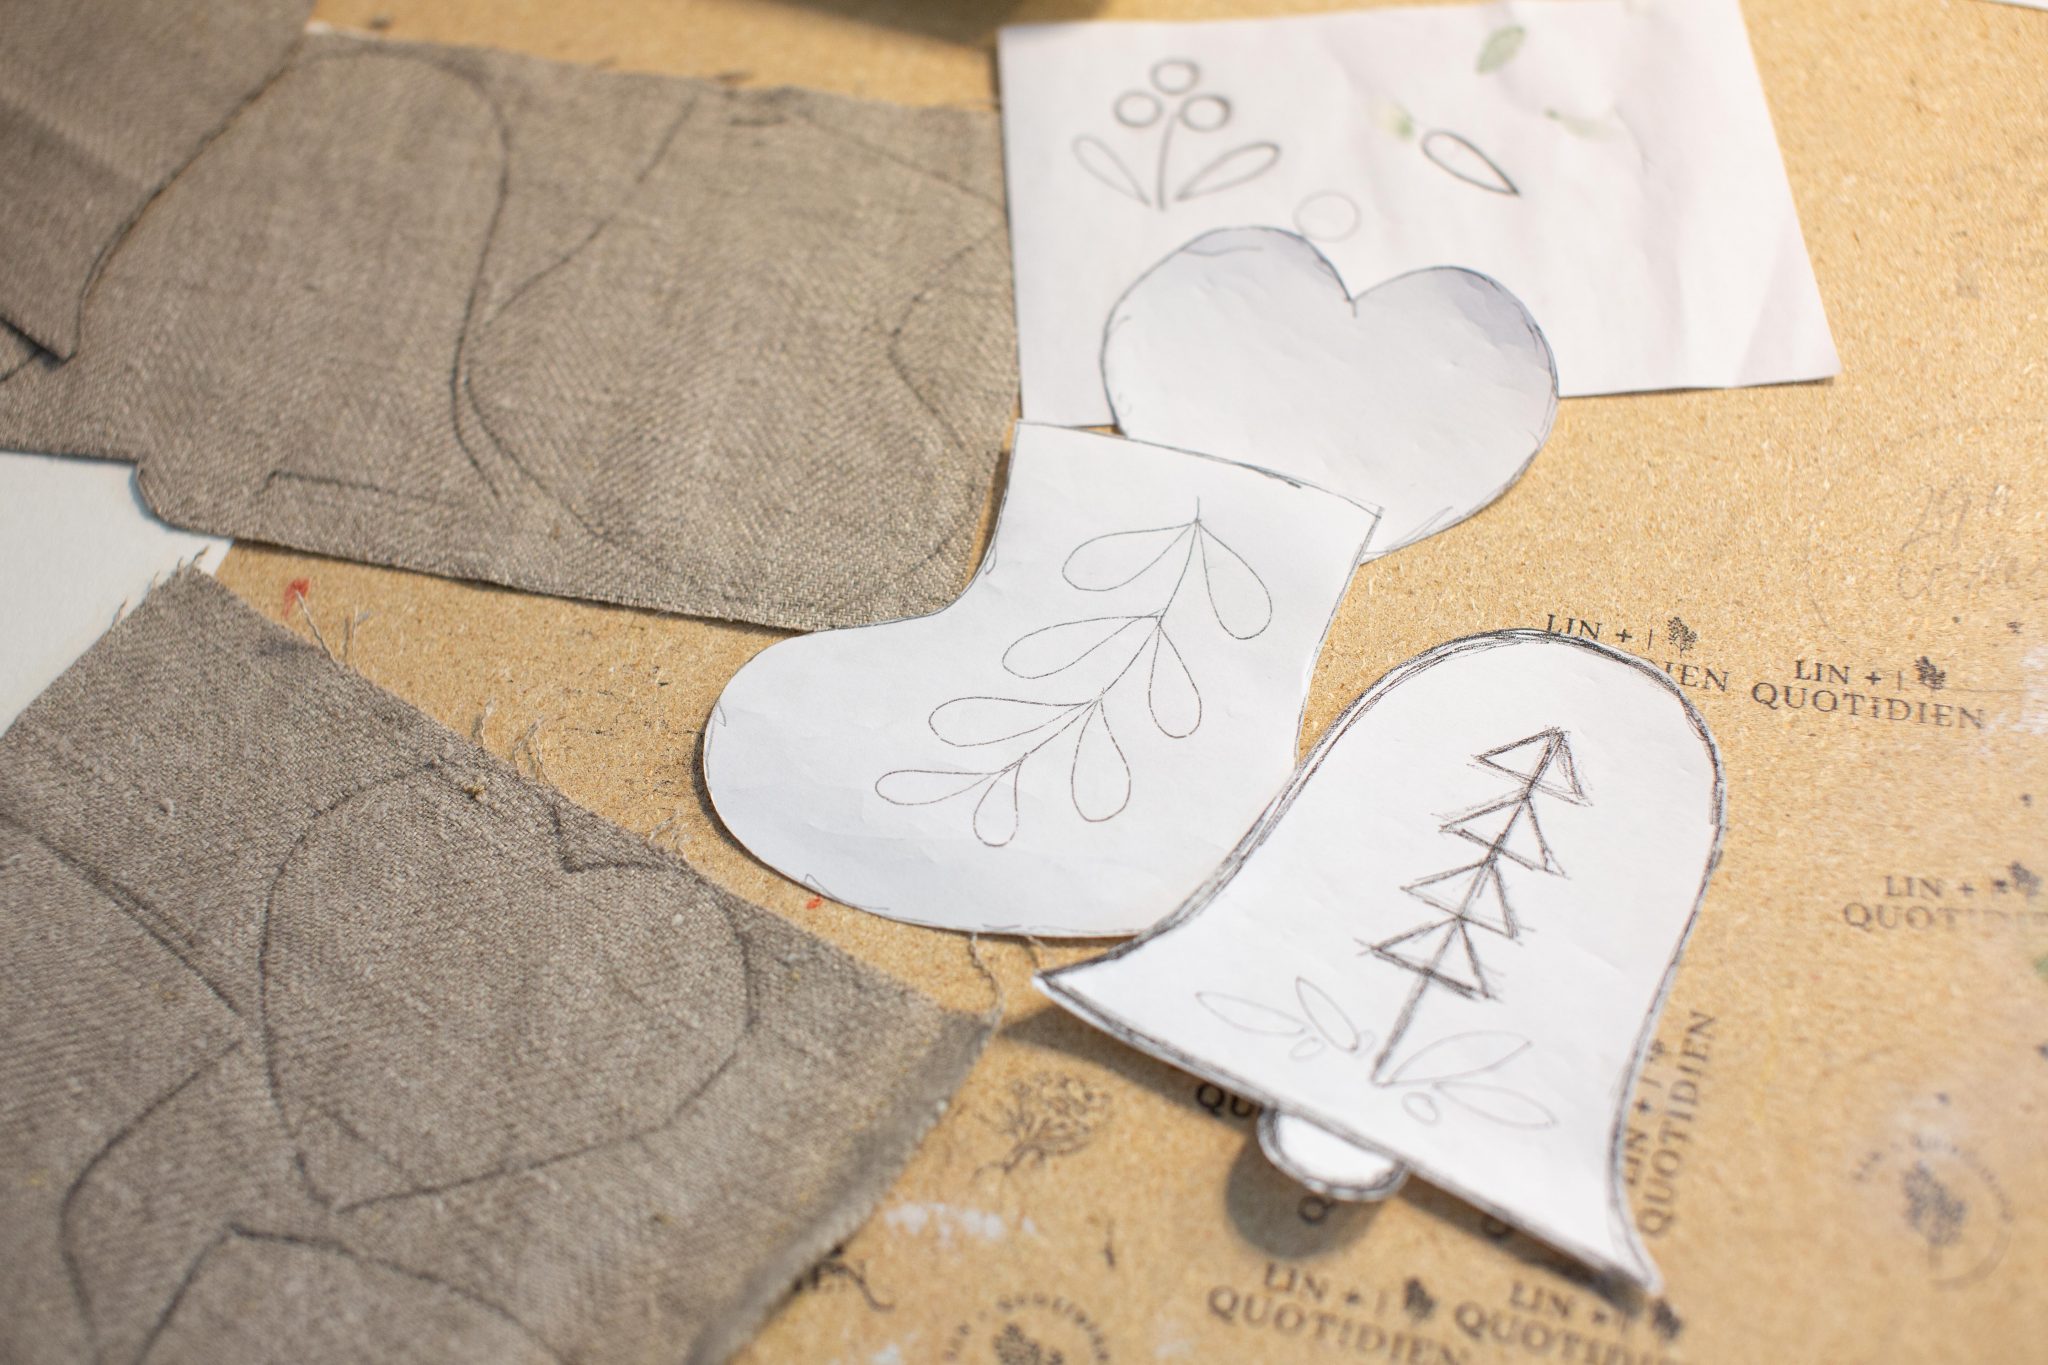
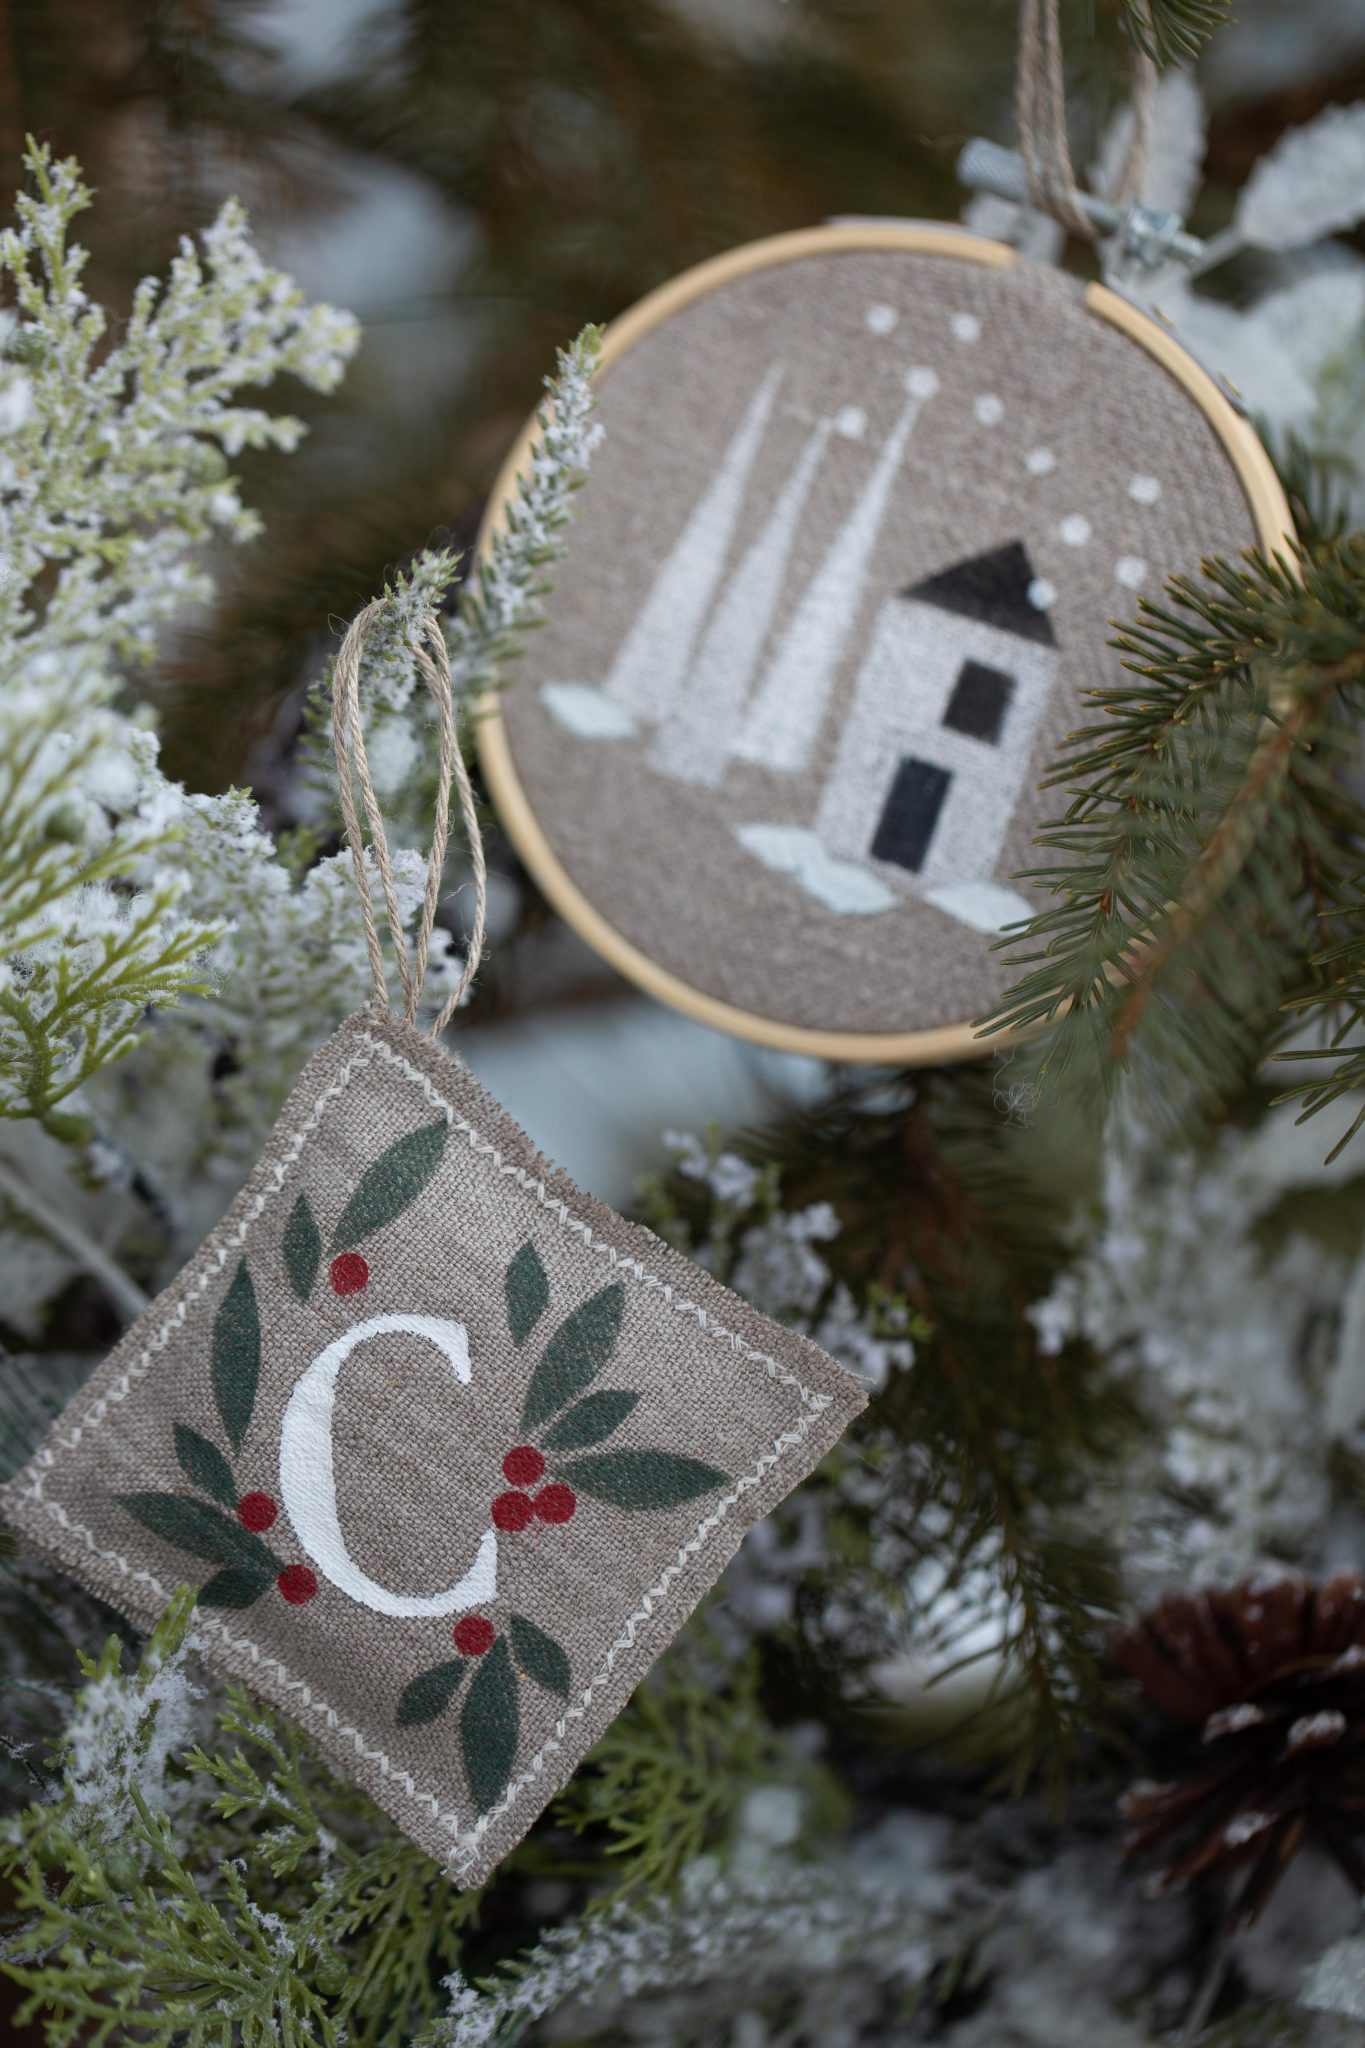
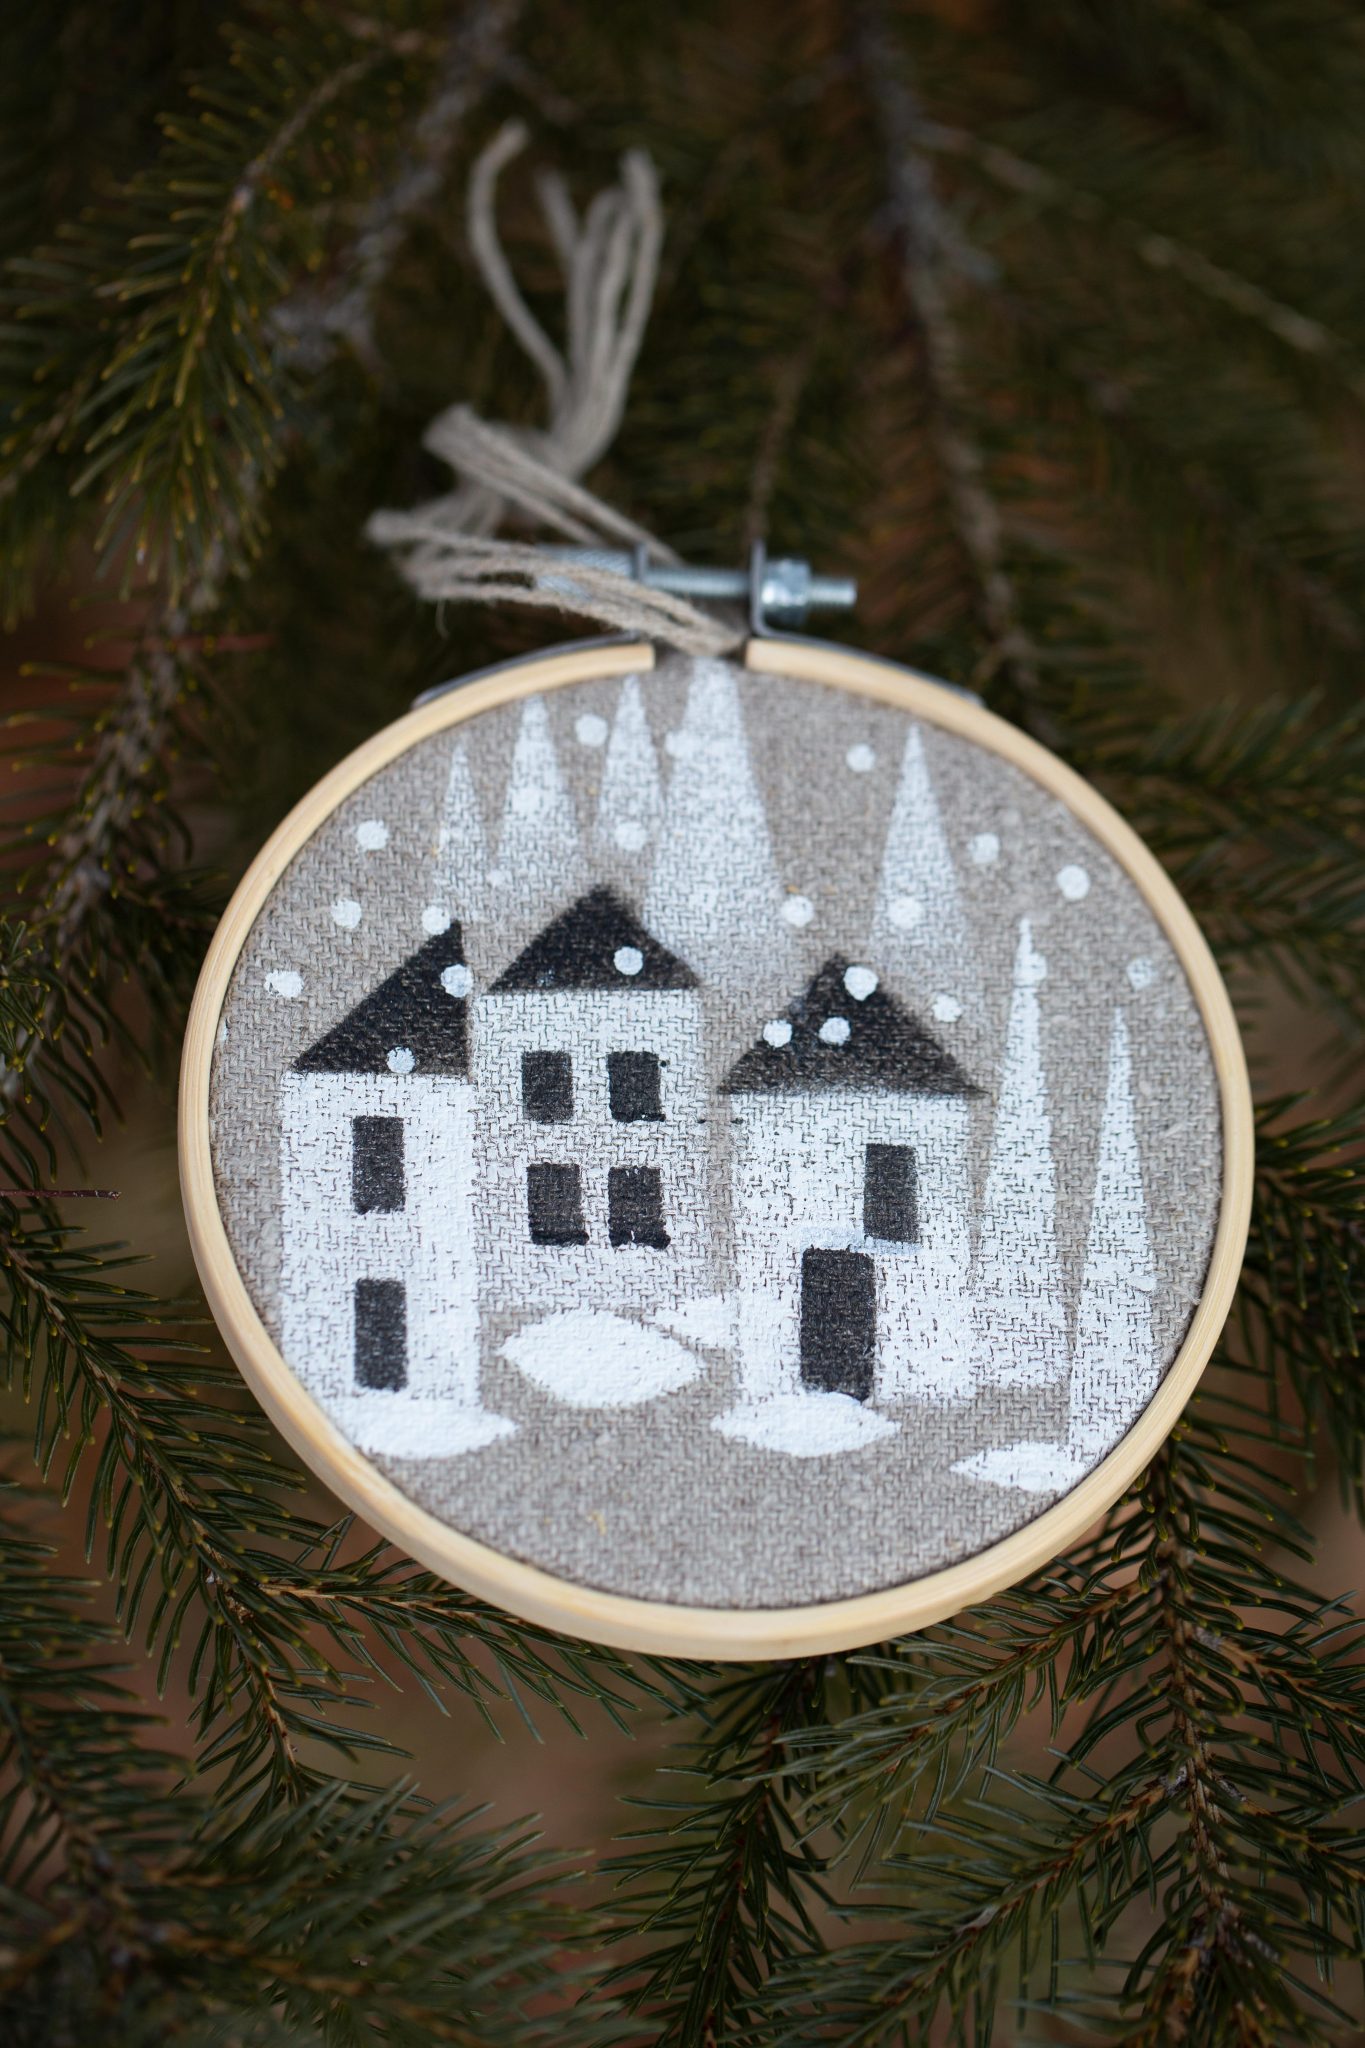
 When I think of Christmas, I think of the smell of cinnamon and cloves , the smell of good homemade meat pies, and the crafts that are always a big part of this time of year. I also remember my little boy making his Christmas cooking list, cookie cutters and tasty desserts that warmed his child’s heart and that of her mother. I think of each of my family members and how much I love them. I also remember as a child, with my dad leaving a beer and cookies on the table for Santa just before we walked to church, the whole family together just before midnight. I remember my mother’s good cream puffs and my grandmother’s generous “bagatelle”. Christmas is a special moment to remember all our loved ones and all those little things that are happiness.