 When I think of Christmas, I think of the smell of cinnamon and cloves , the smell of good homemade meat pies, and the crafts that are always a big part of this time of year. I also remember my little boy making his Christmas cooking list, cookie cutters and tasty desserts that warmed his child’s heart and that of her mother. I think of each of my family members and how much I love them. I also remember as a child, with my dad leaving a beer and cookies on the table for Santa just before we walked to church, the whole family together just before midnight. I remember my mother’s good cream puffs and my grandmother’s generous “bagatelle”. Christmas is a special moment to remember all our loved ones and all those little things that are happiness.
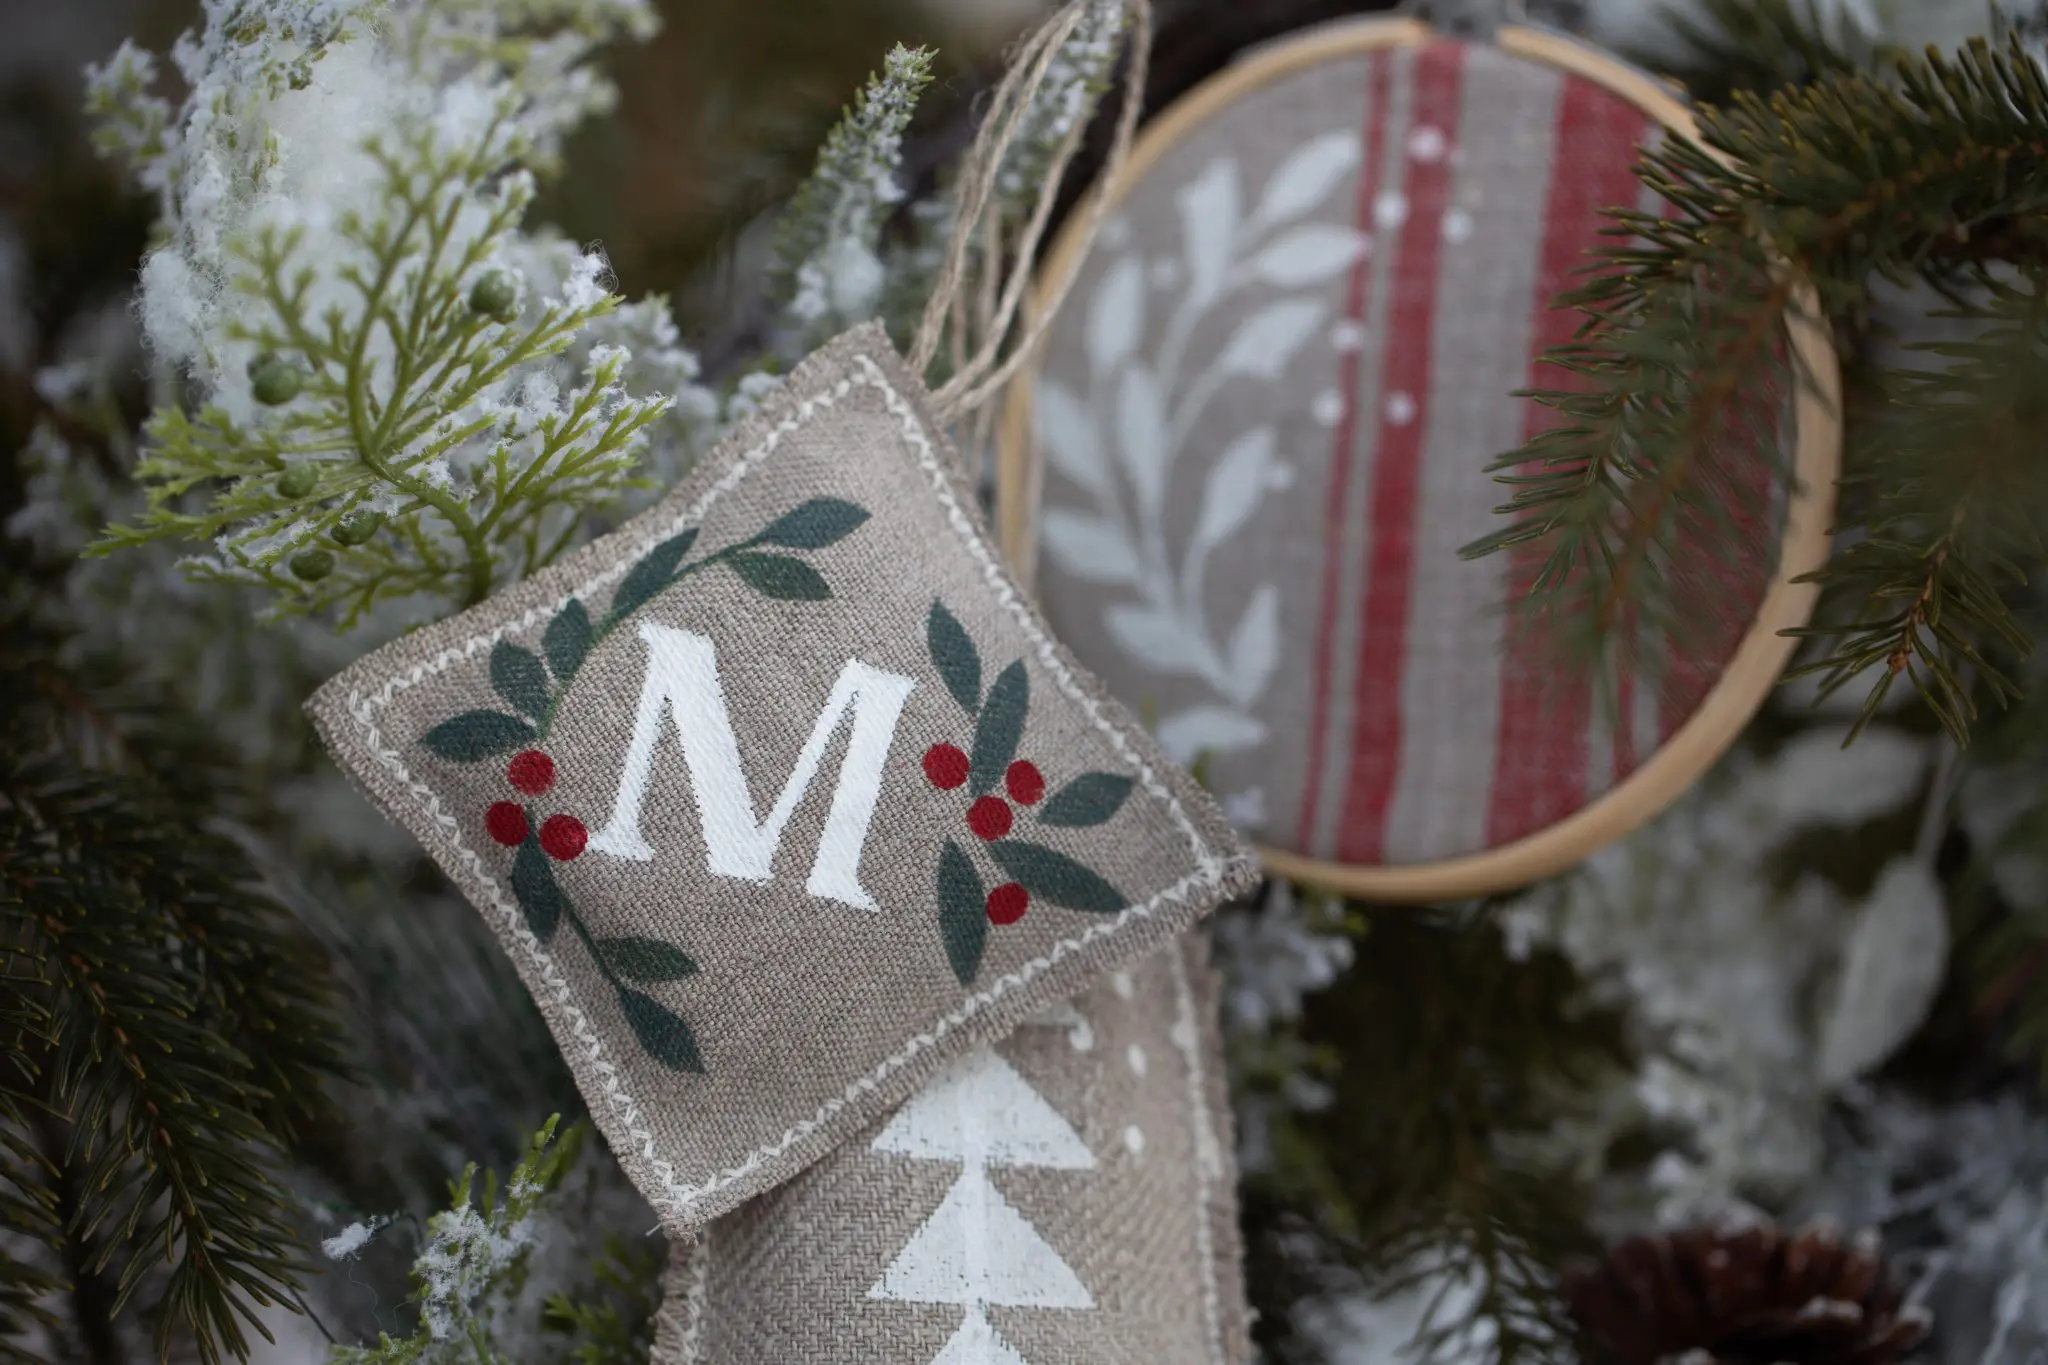
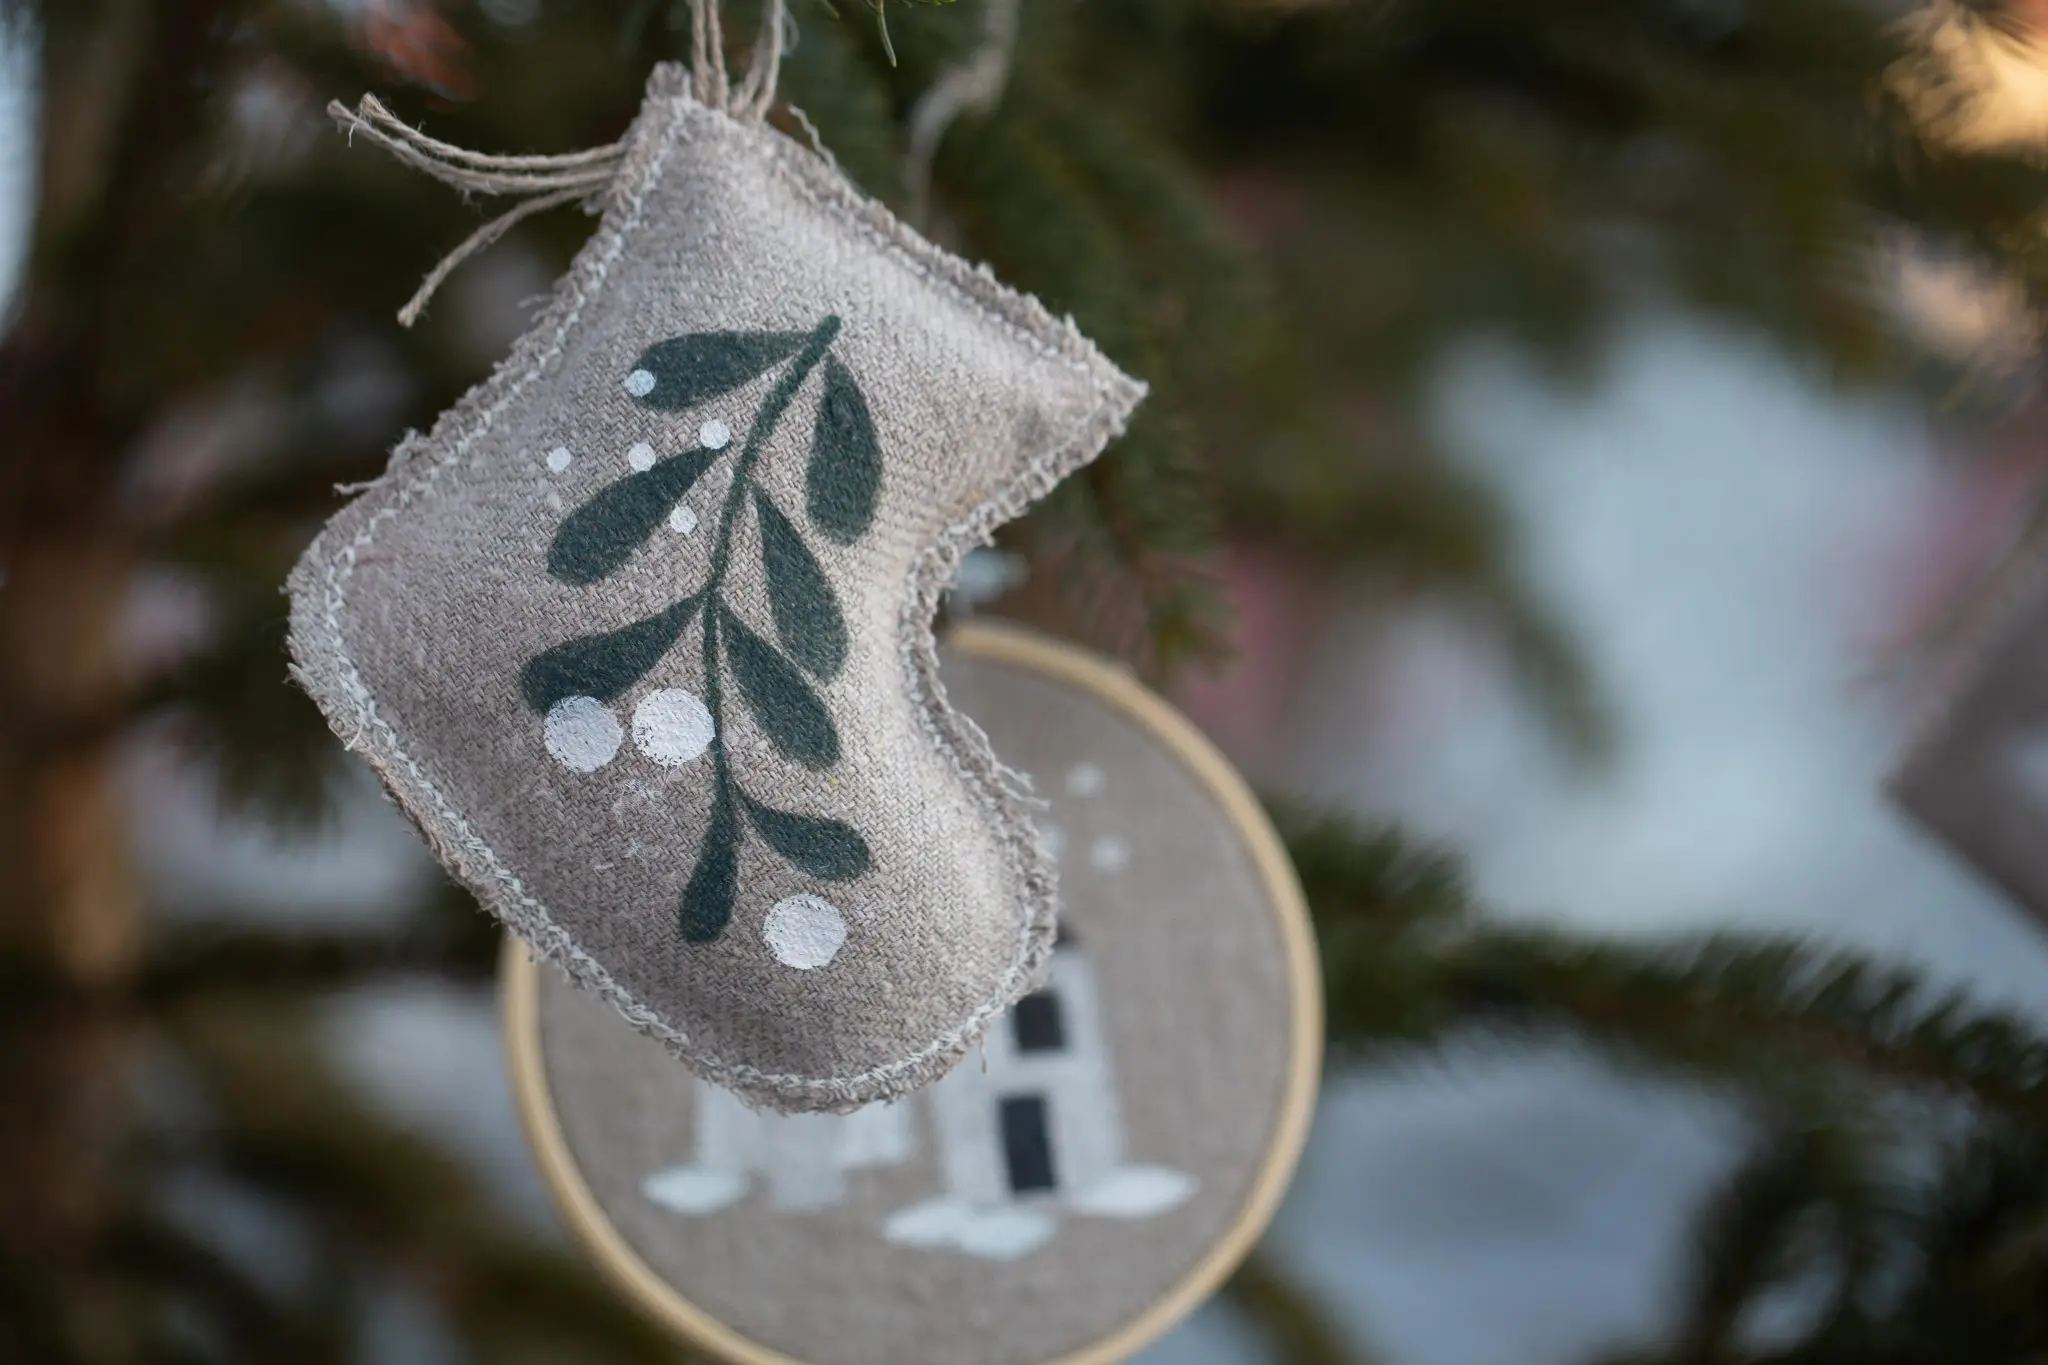
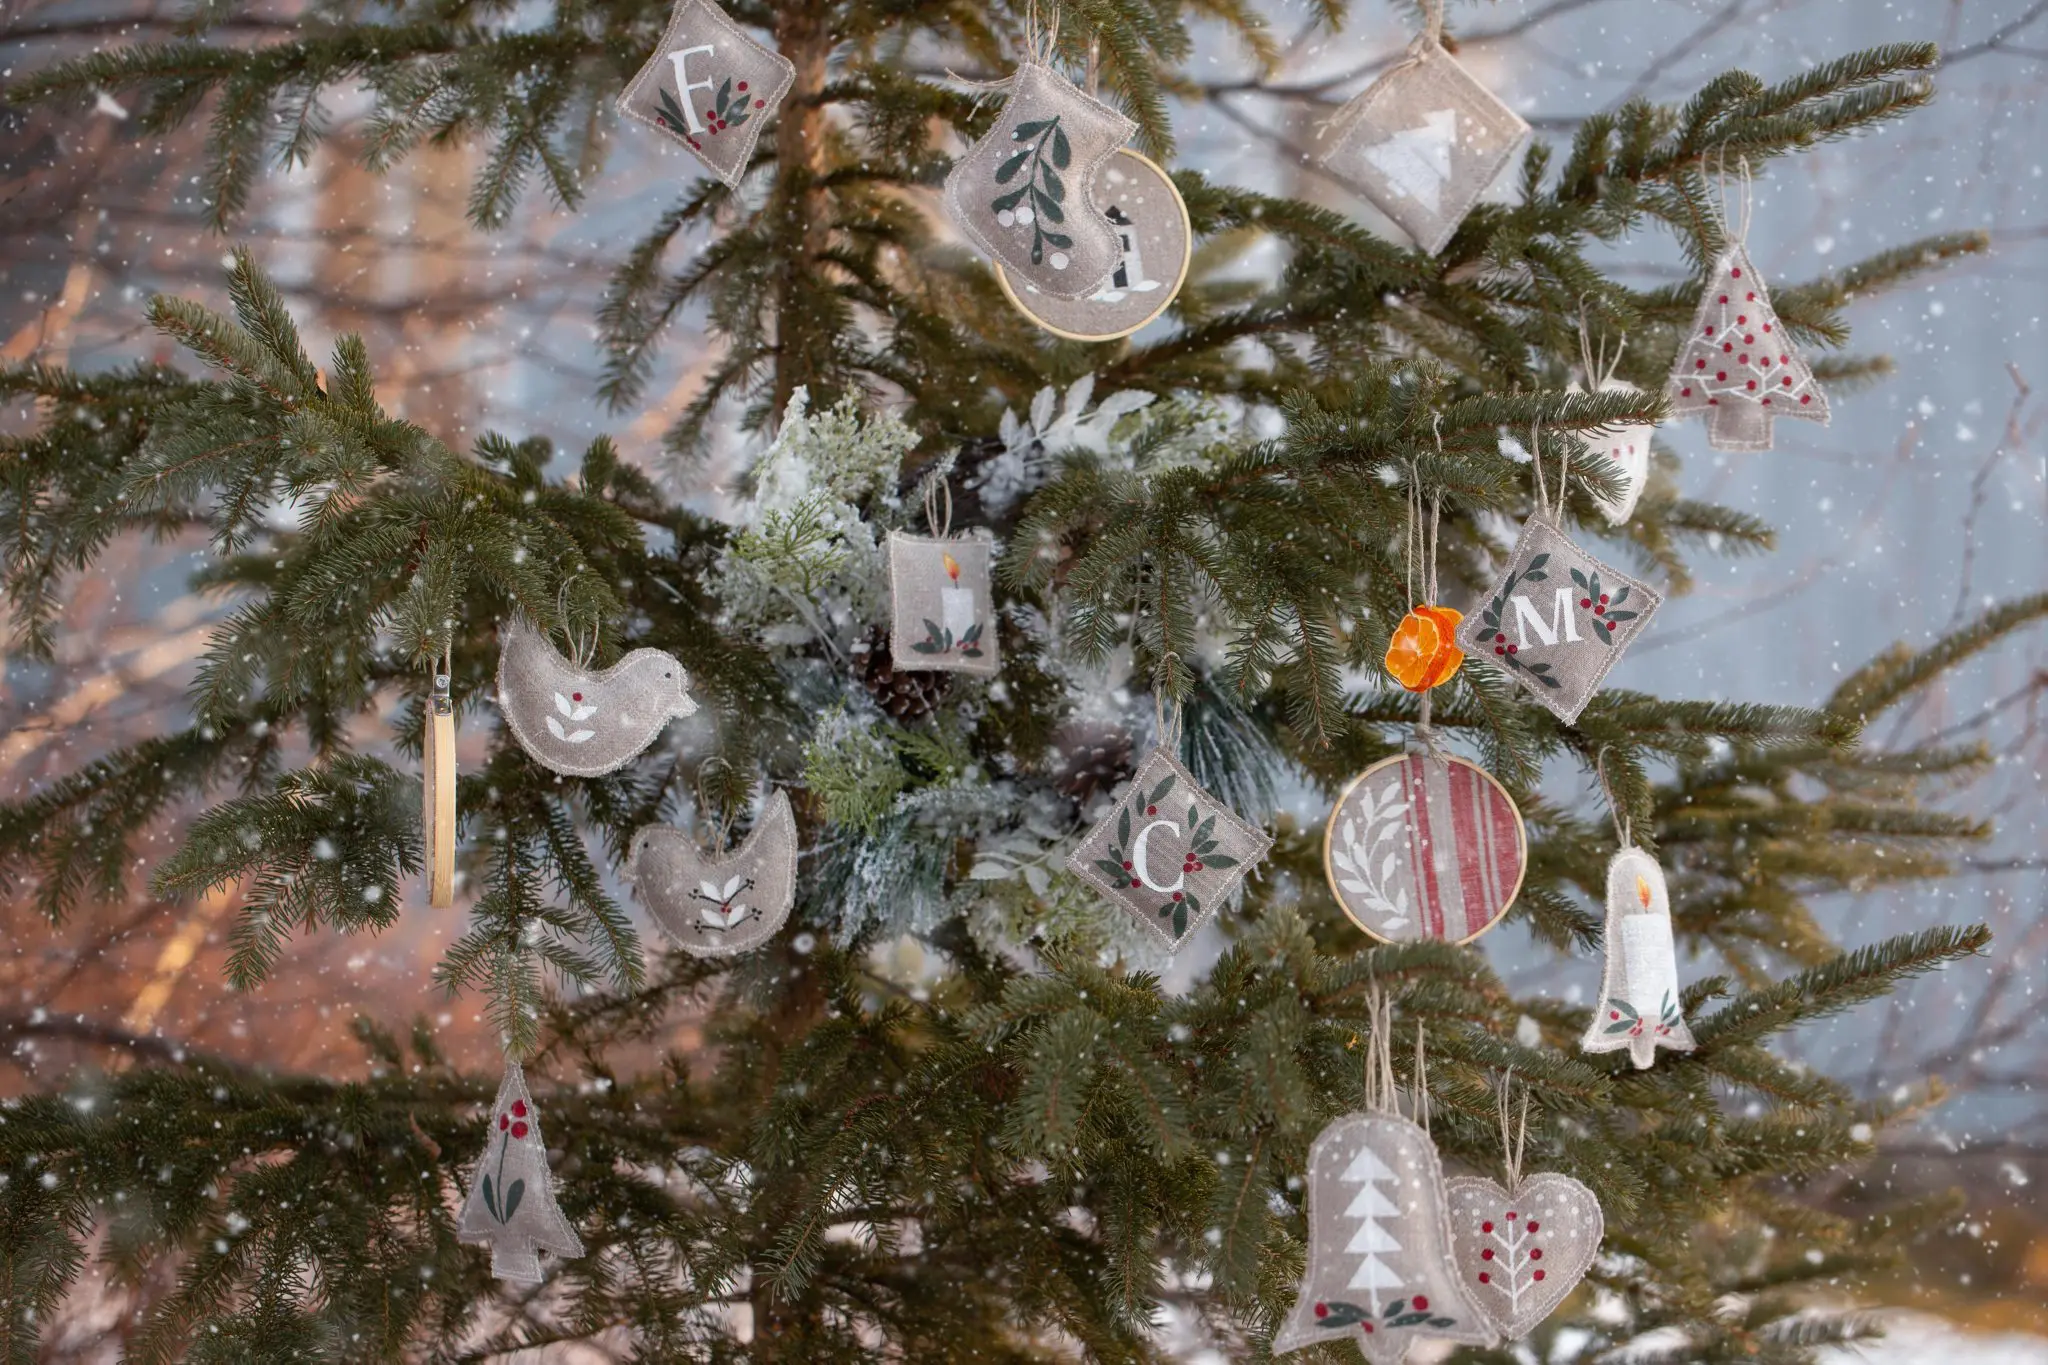
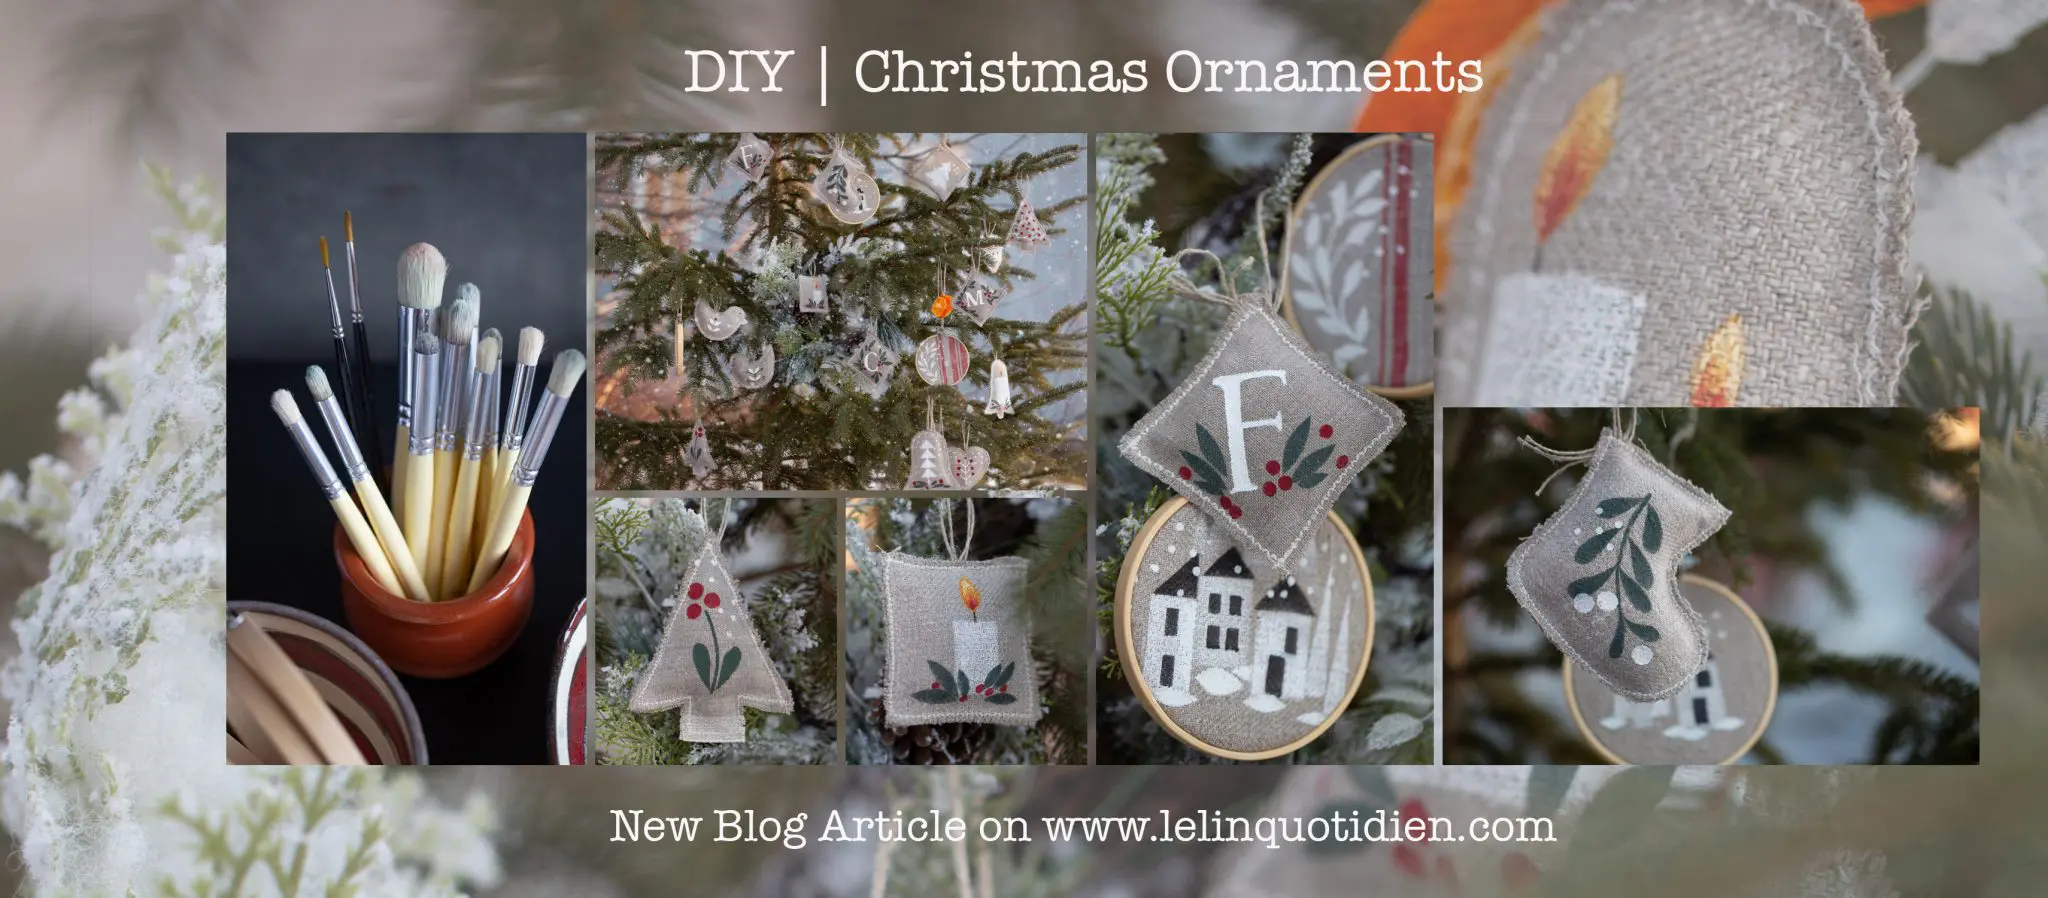
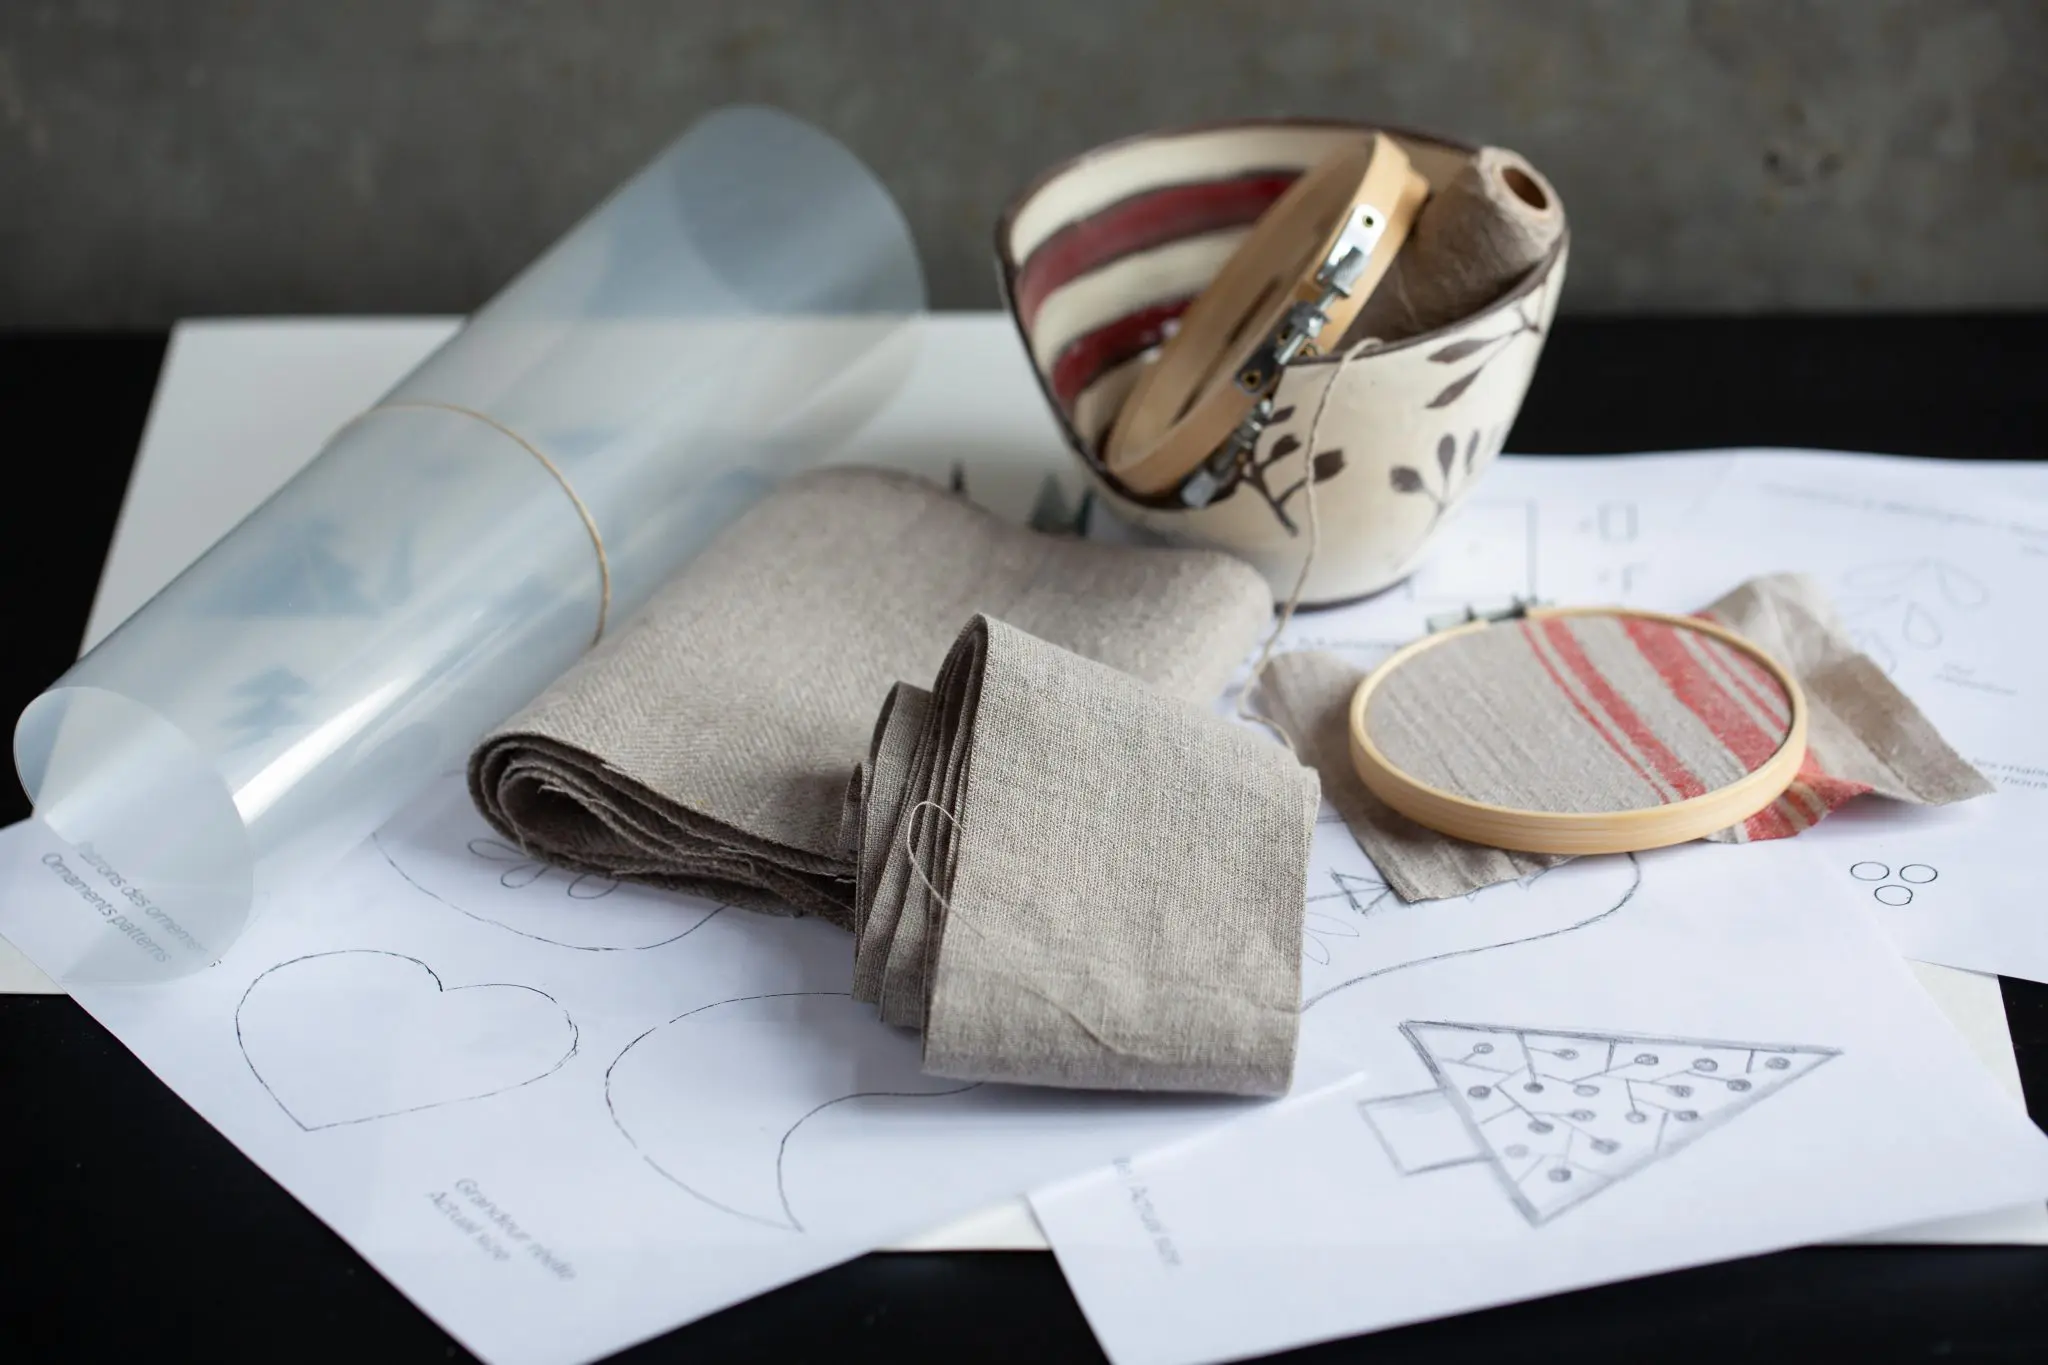
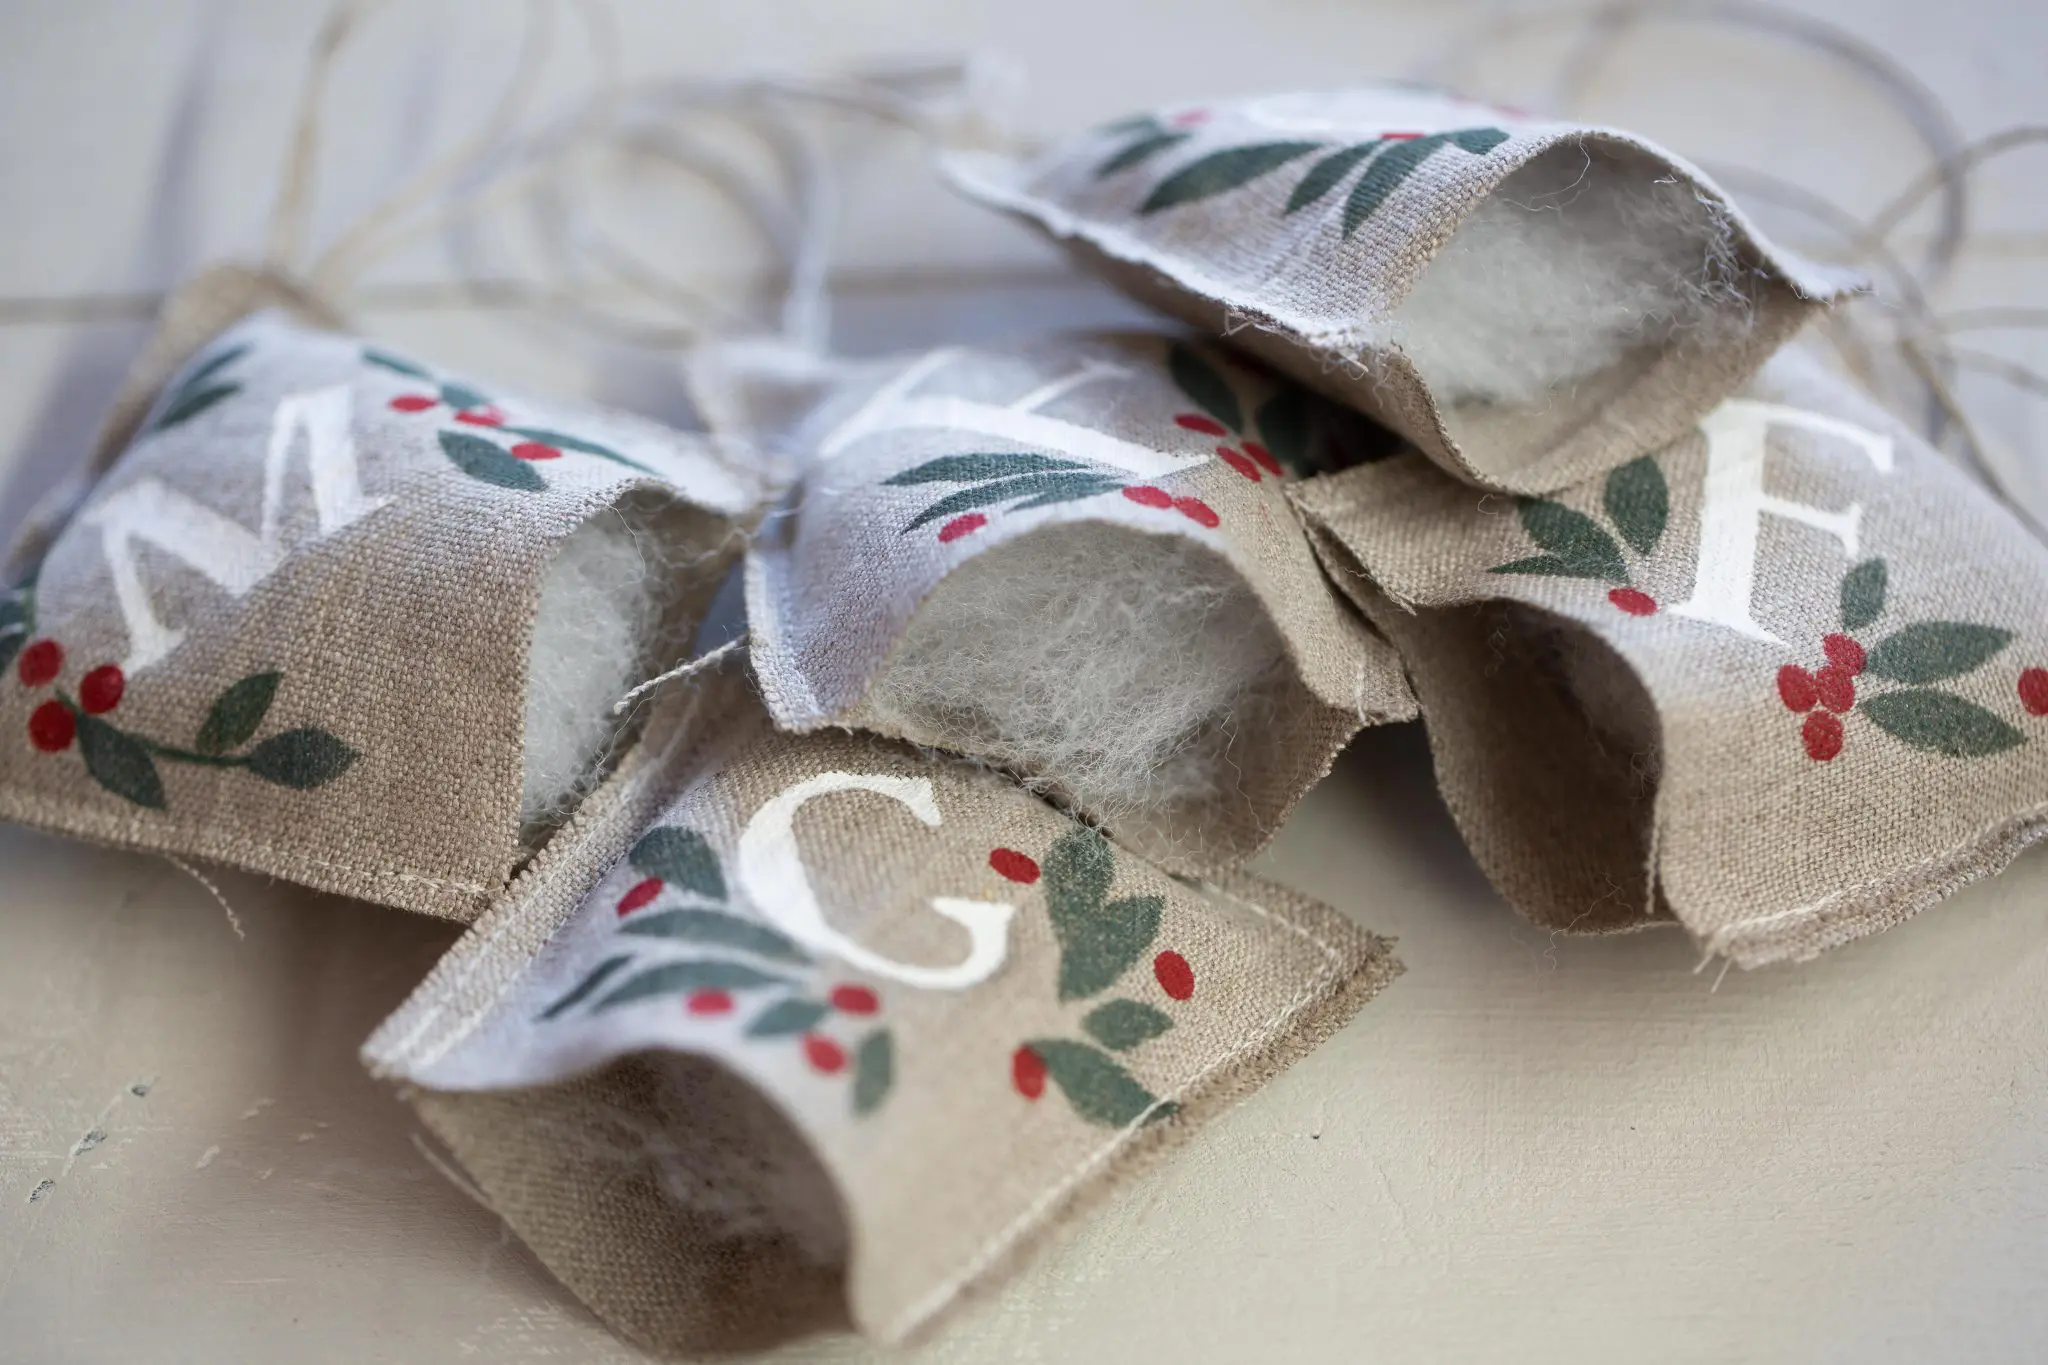
This year, as a DIY project, I wanted to paint my silverware pouches by hand, using homemade stencils, with a nod to Scandi Christmases and the clean style that I am so passionate about. Finally, the project got bigger and I thought it would be great to make Christmas ornaments using my lovely linen scraps. So, after several days of drawing, painting, sewing and photographing, here they are!
Materials for 17 ornaments
2 sheets of 6mm mylar (to cut out the stencils)
I strip of linen twill (or scraps) 5.5” x 59” / 15 cm x 1.5 m (You will have 5 ornaments [one of each design] + 2 embroidery hoops of 3” or 4” + 1 additional ornament of your choice)
1 strip of raw linen (or scraps) 3” x 56” / 7.60 cm x 1.40 (To cut 16 squares of 3 ” for the initial letter. You will have 8 square ornaments)
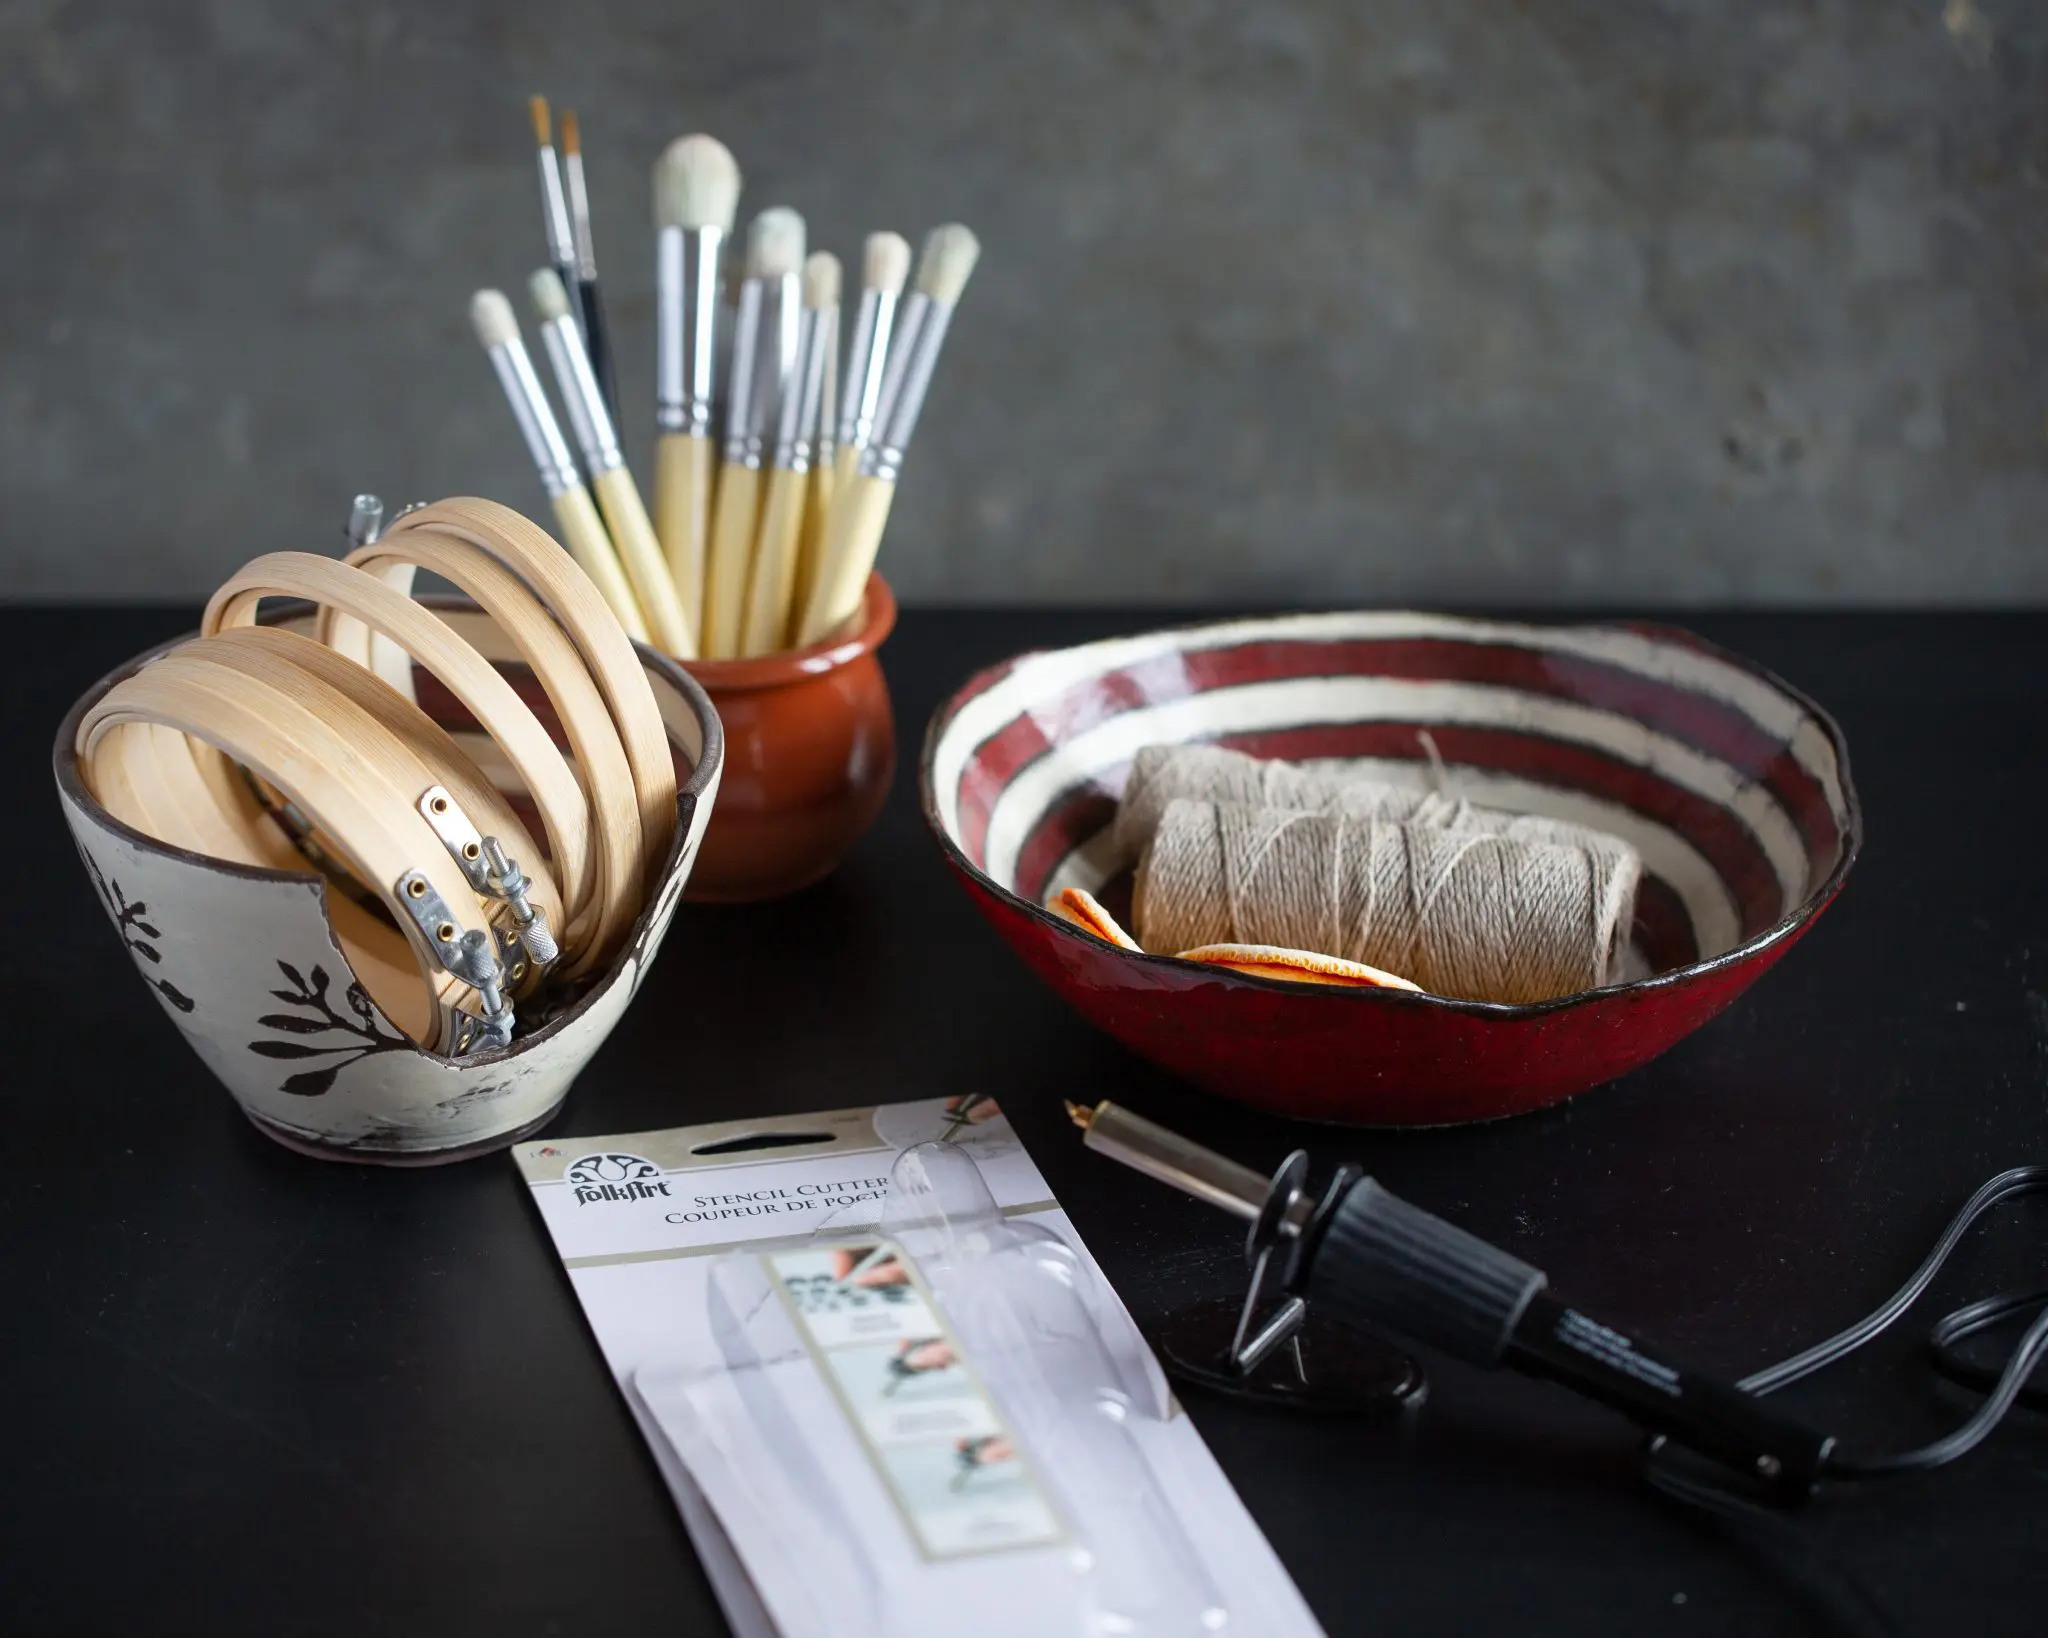
8 yards of linen rope / 8 meters of linen rope (To hang the ornaments)
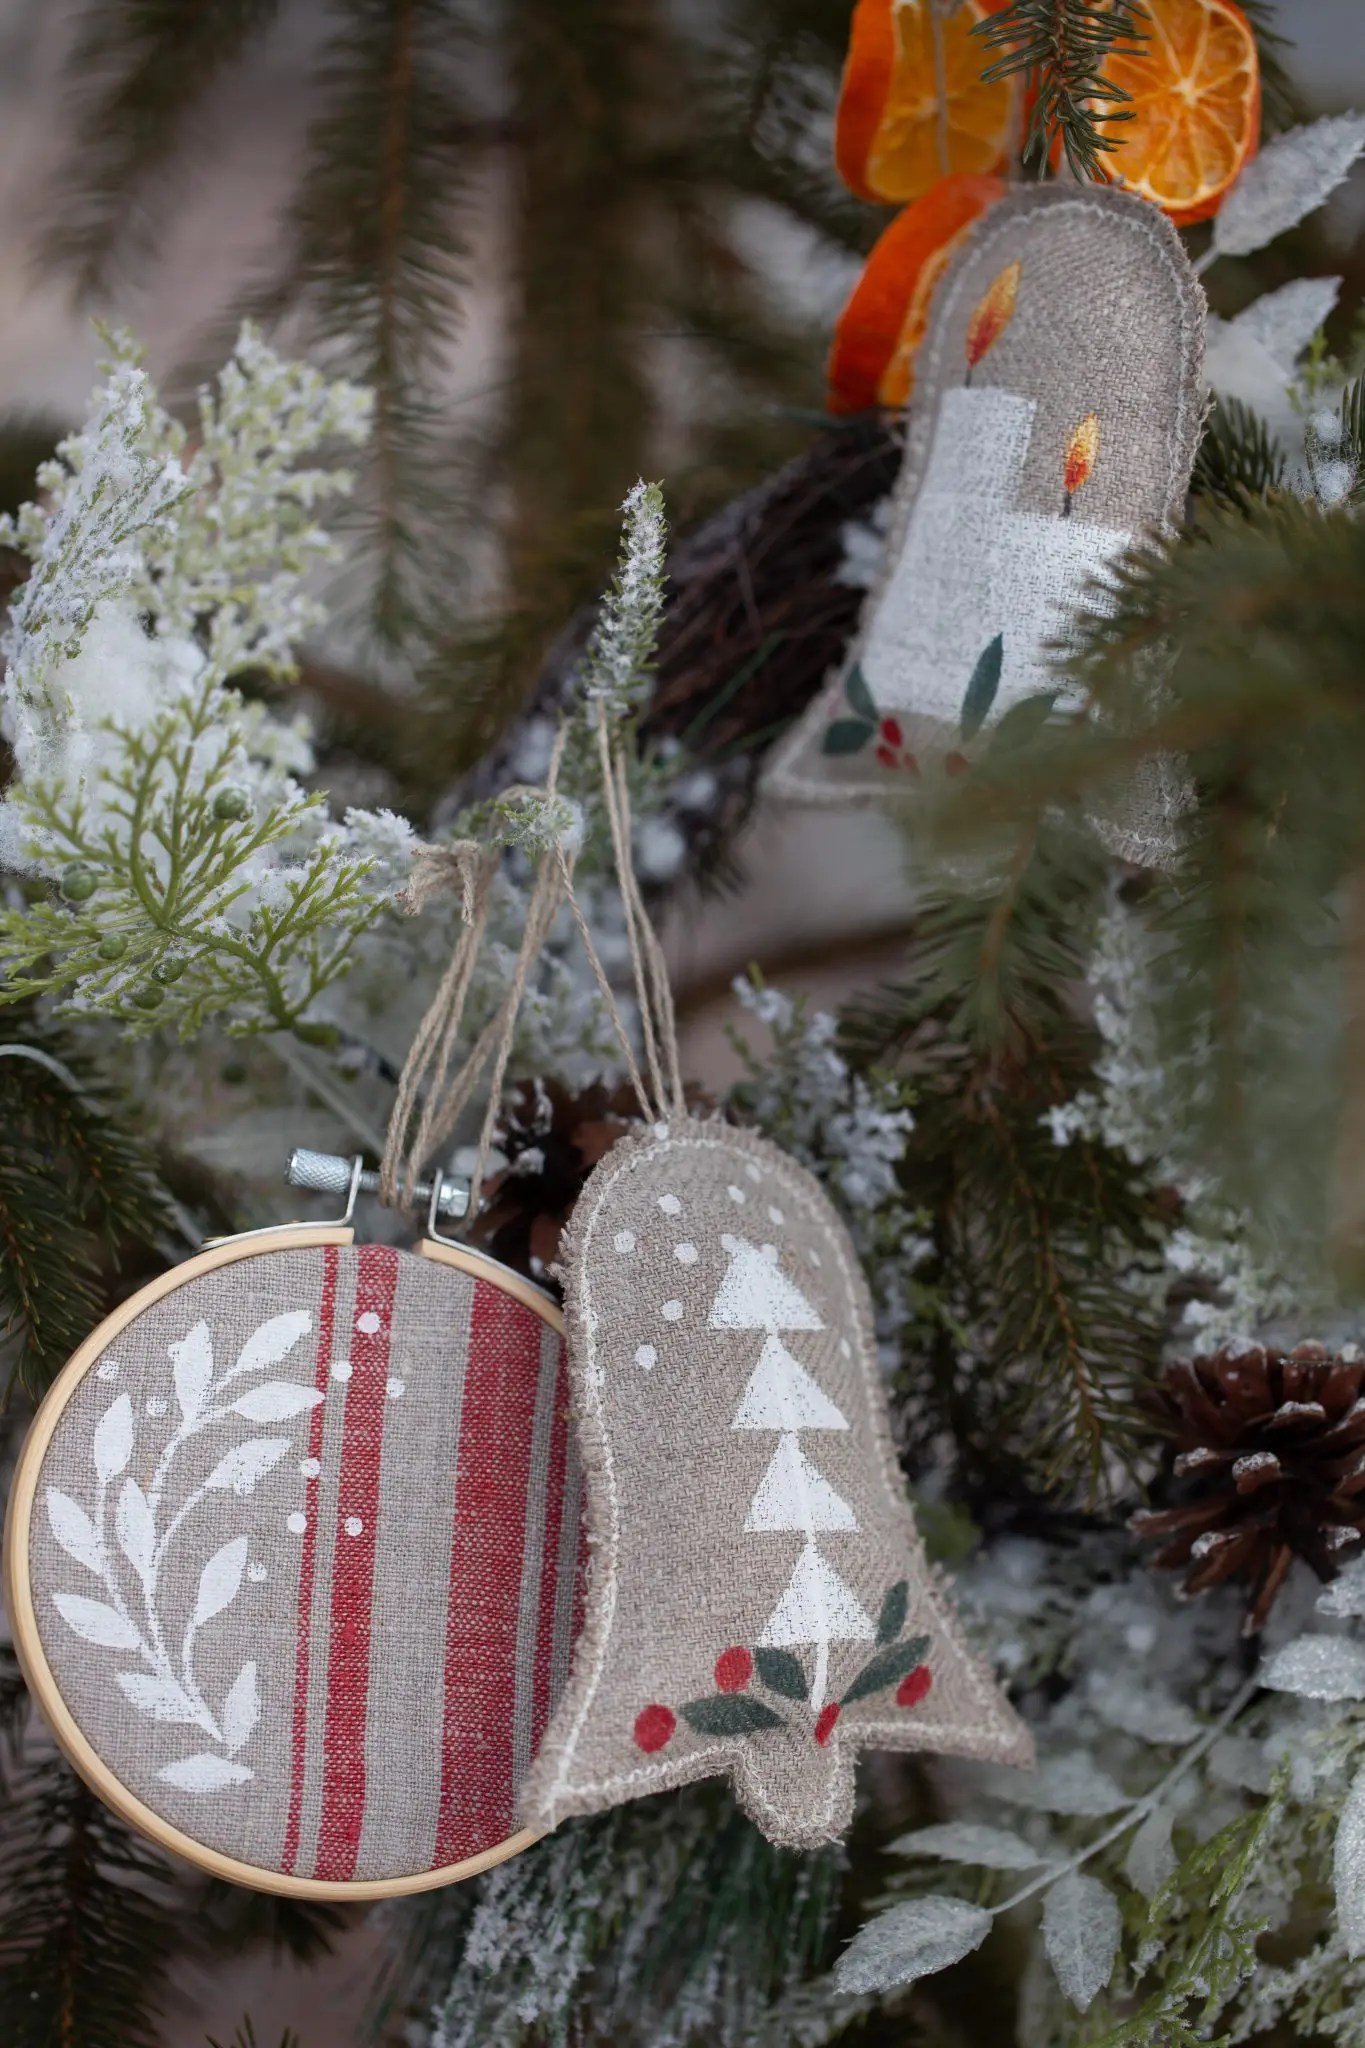
1 scrap of red striped linen (For 1 embroidery hoop)
2 bamboo embroidery hoops of 3” or 4” diam.
Blue cloths
DecoArt Americana Acrylic Colors: Black, Golden Straw, Bright Orange, Hauser Dark Green, Country Red, Warm White, Dove Grey.
Polyester Stuffing
Stencil brushes (hog hair) with rounded tips or others (Here)
Liner or no.3 round brush (To paint stem of the misteltoe and wickle of the candle)
X-Acto or Plaid electric stencil cutter (Here)
Permanent Marker (Here)
If you would like to get the designs, procedures and the “Composition Ideas” sheet, this pattern is available as a download on my Etsy boutique Here.
If you would like to purchase the full kit, it is available Here.
Procedures
Stencil preparation
Trace the stencil designs onto the mylar sheet (check for and remove the plastic backing on the mylar) with a permanent marker. Draw one design at a time, then cut it out. Otherwise, you may erase the other designs as you cut.
Use a cutter knife to cut out designs with straight lines (houses and trees) and the electric stencil cutter for designs with curved lines.
How do I use the electric stencil cutter? Use a glass window as a working surface. Preheat the tool for 15 minutes before starting. When the tool is hot, hold it firmly on the line and push the tool at a snail’s pace (really snail’s pace). Wipe the cutter tip after cutting each pattern. To do this, use a table cloth and remove the mylar debris by folding the table cloth firmly over the tip and pulling.
To cut all the shapes, allow 45 minutes to 1 hour.
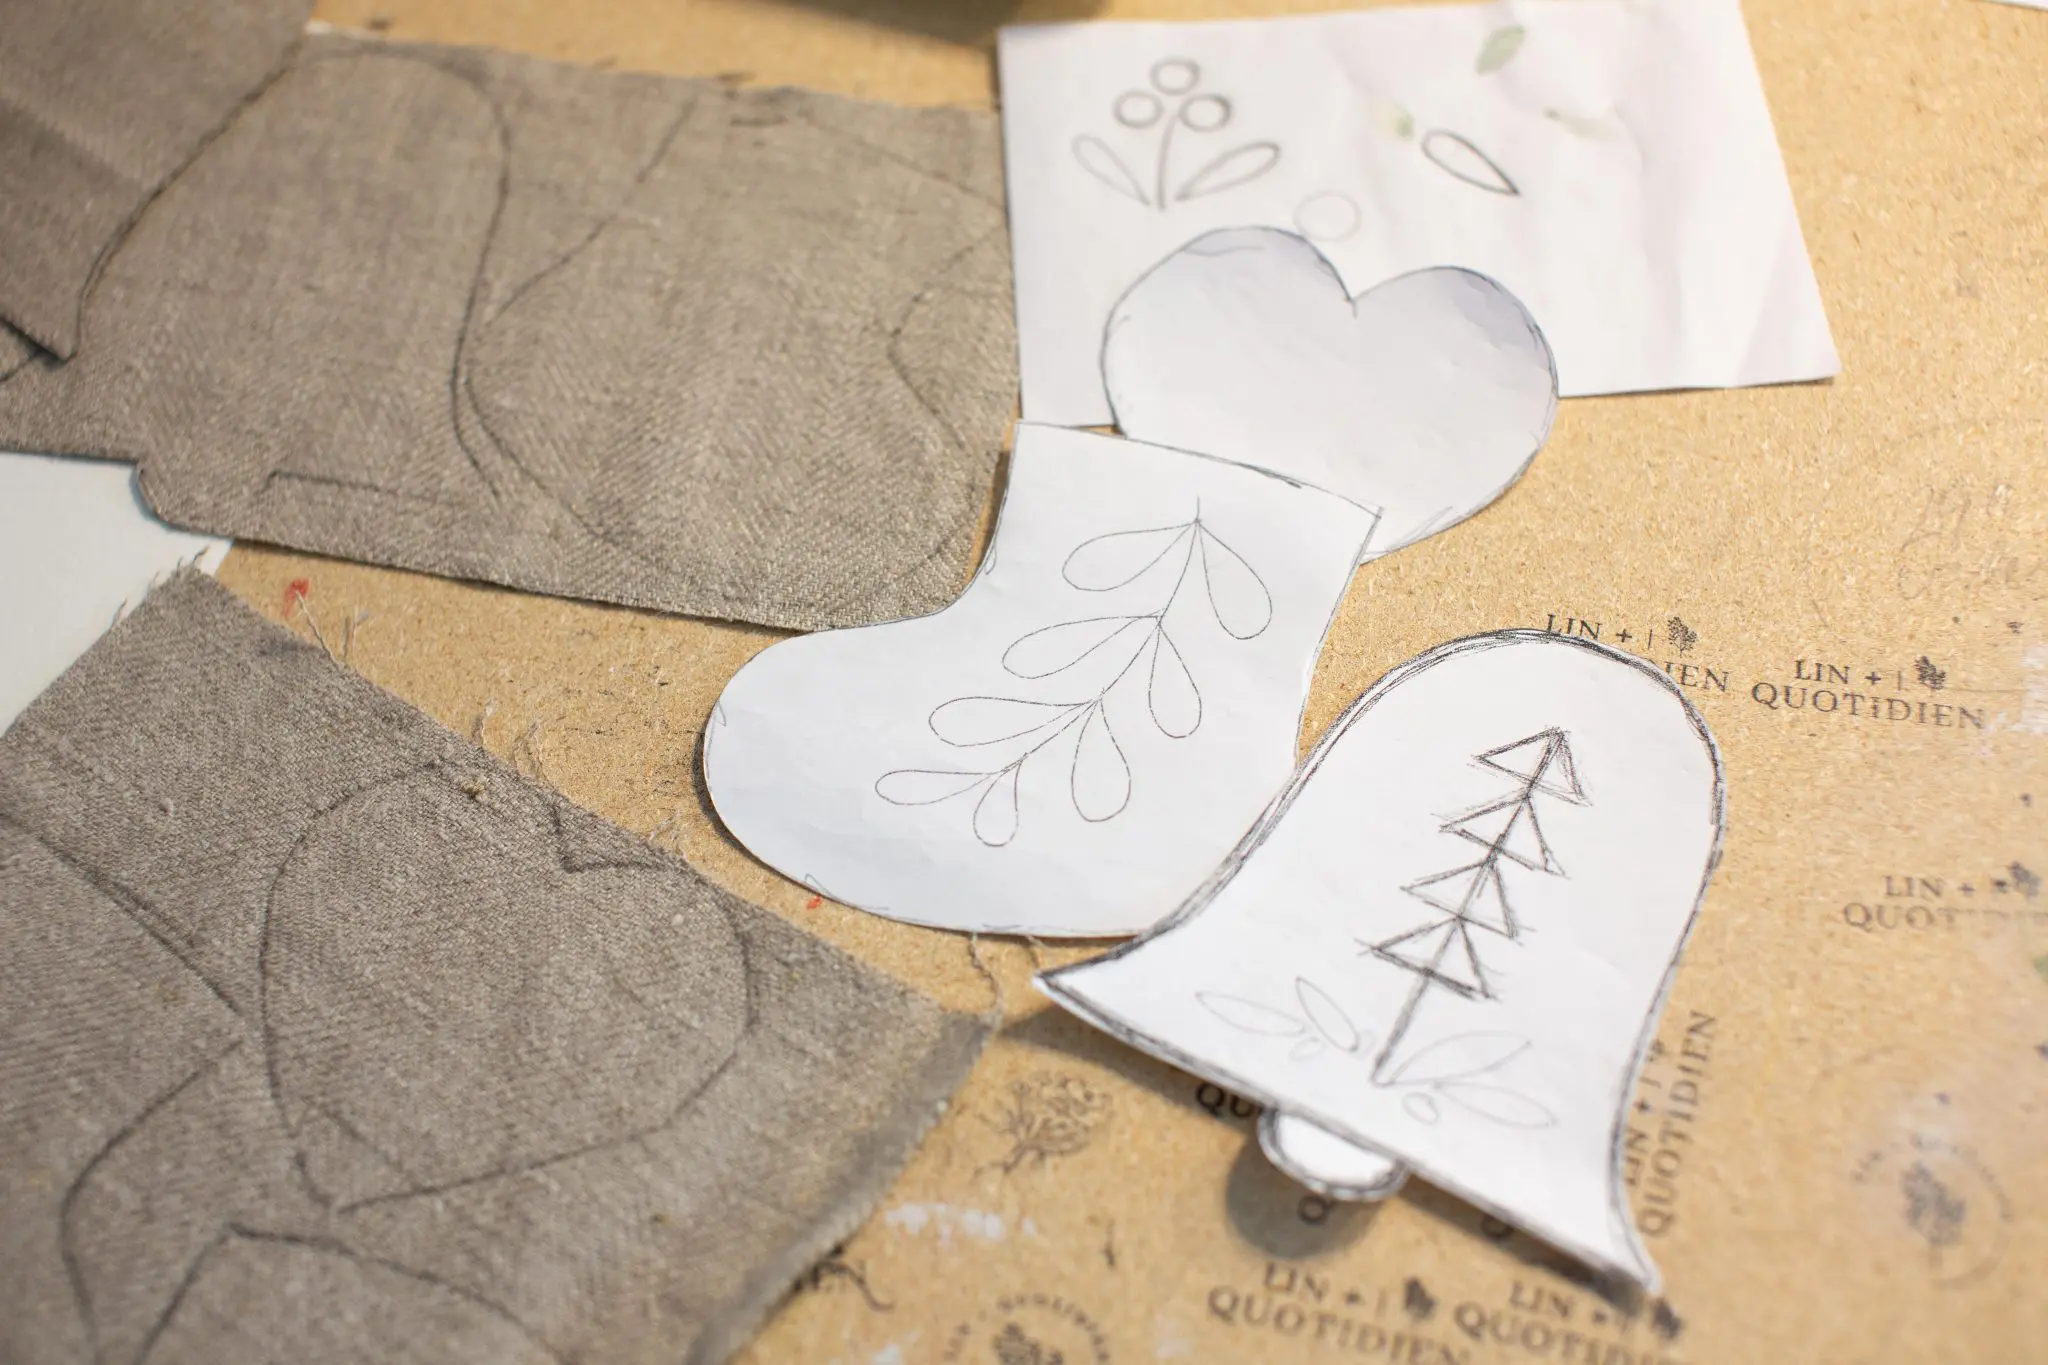
Trace and cut out the ornaments of linen fabric
Cut out the paper patterns and trace the outlines onto the linen with a lead pencil.
Painting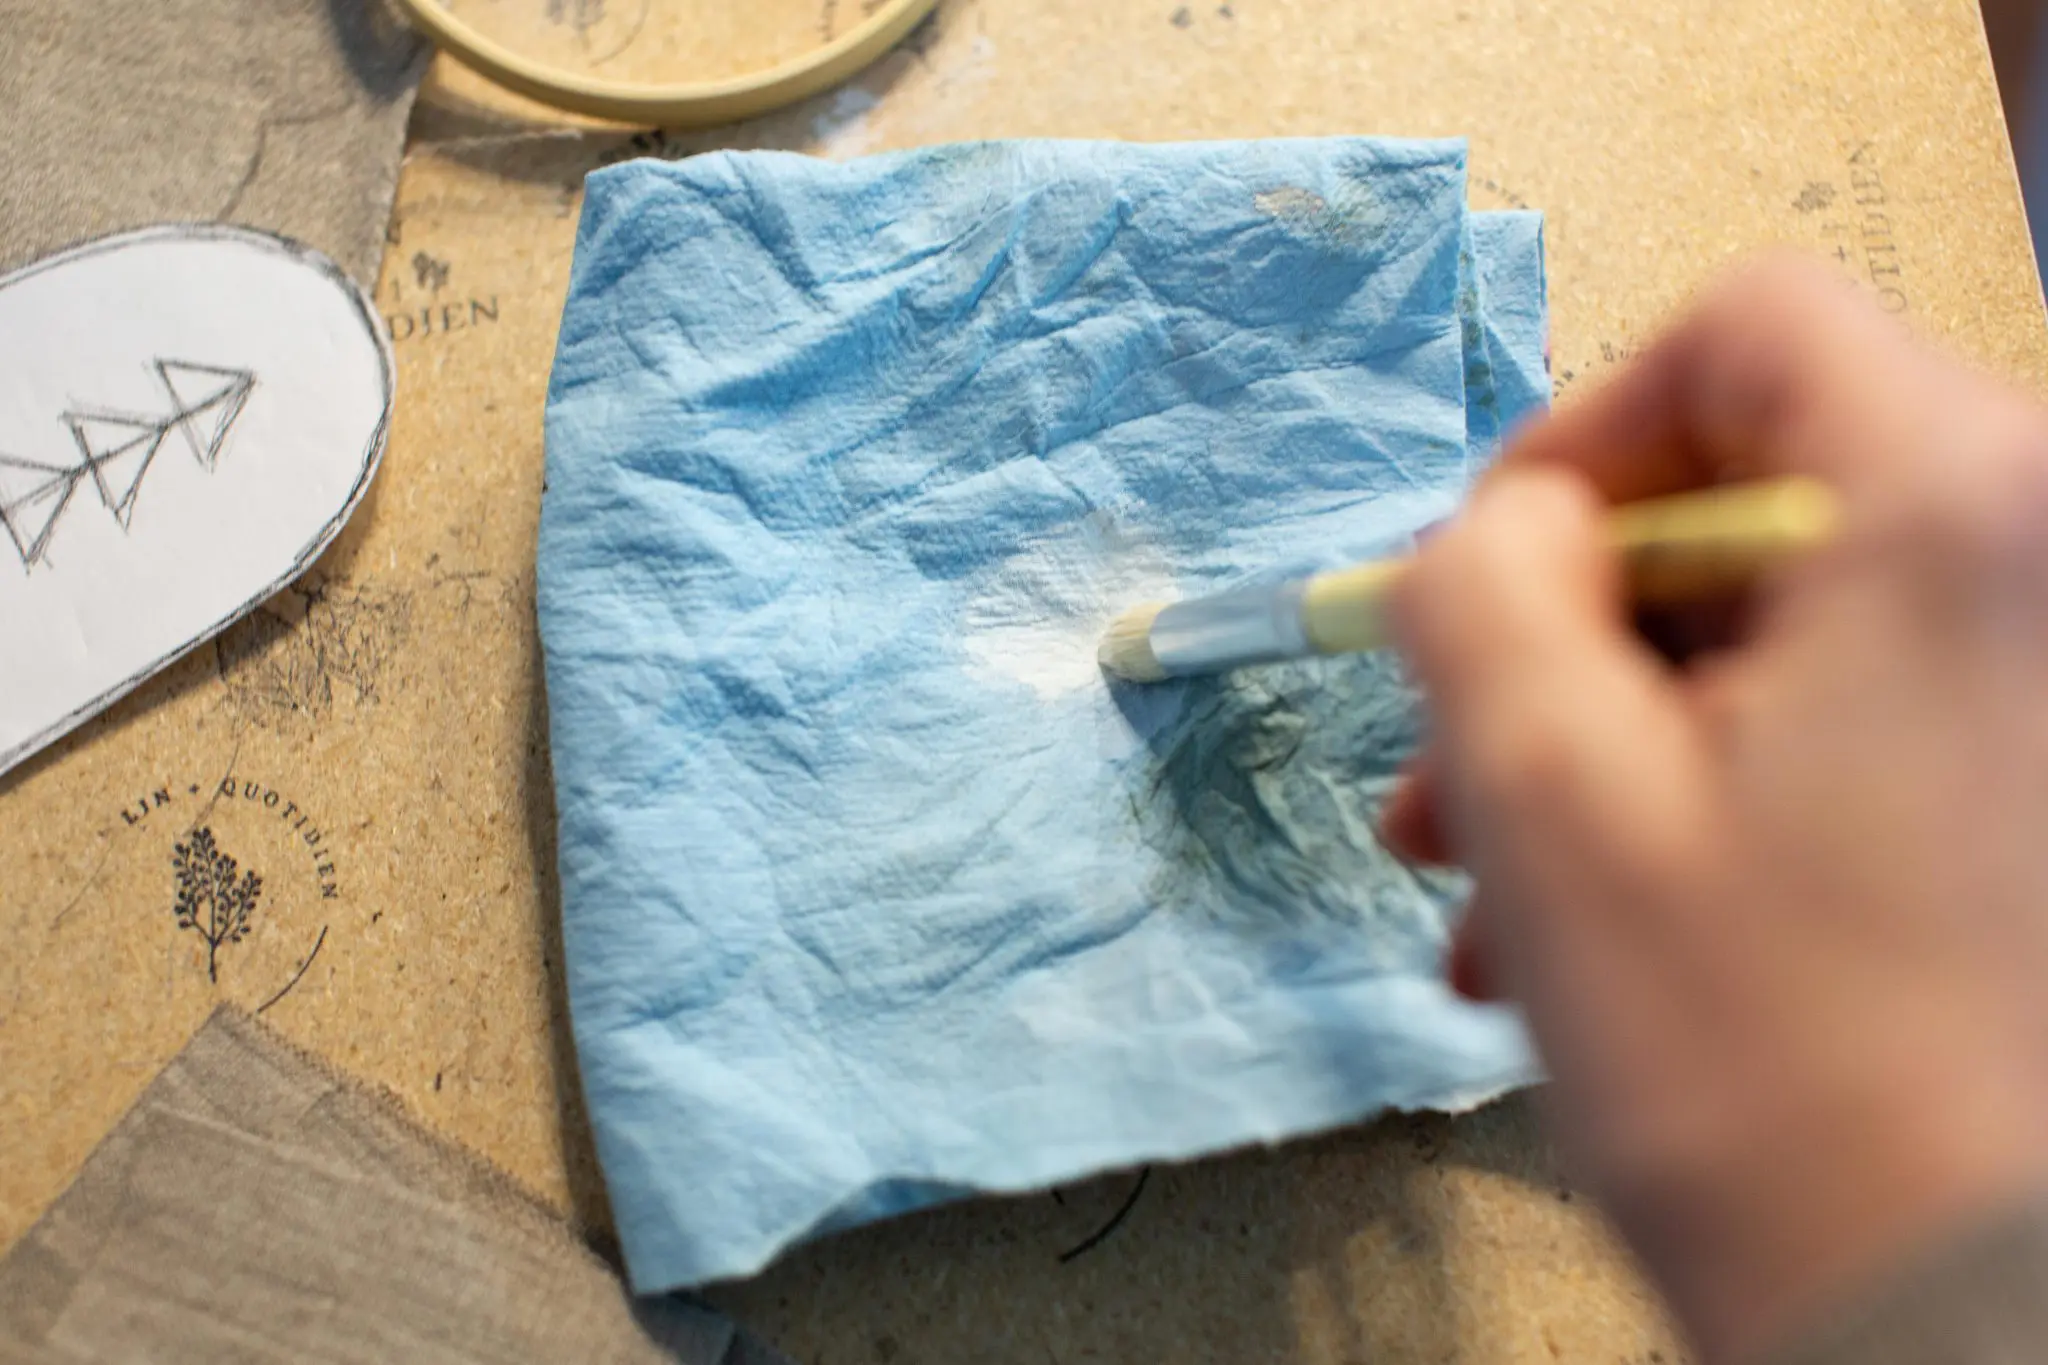
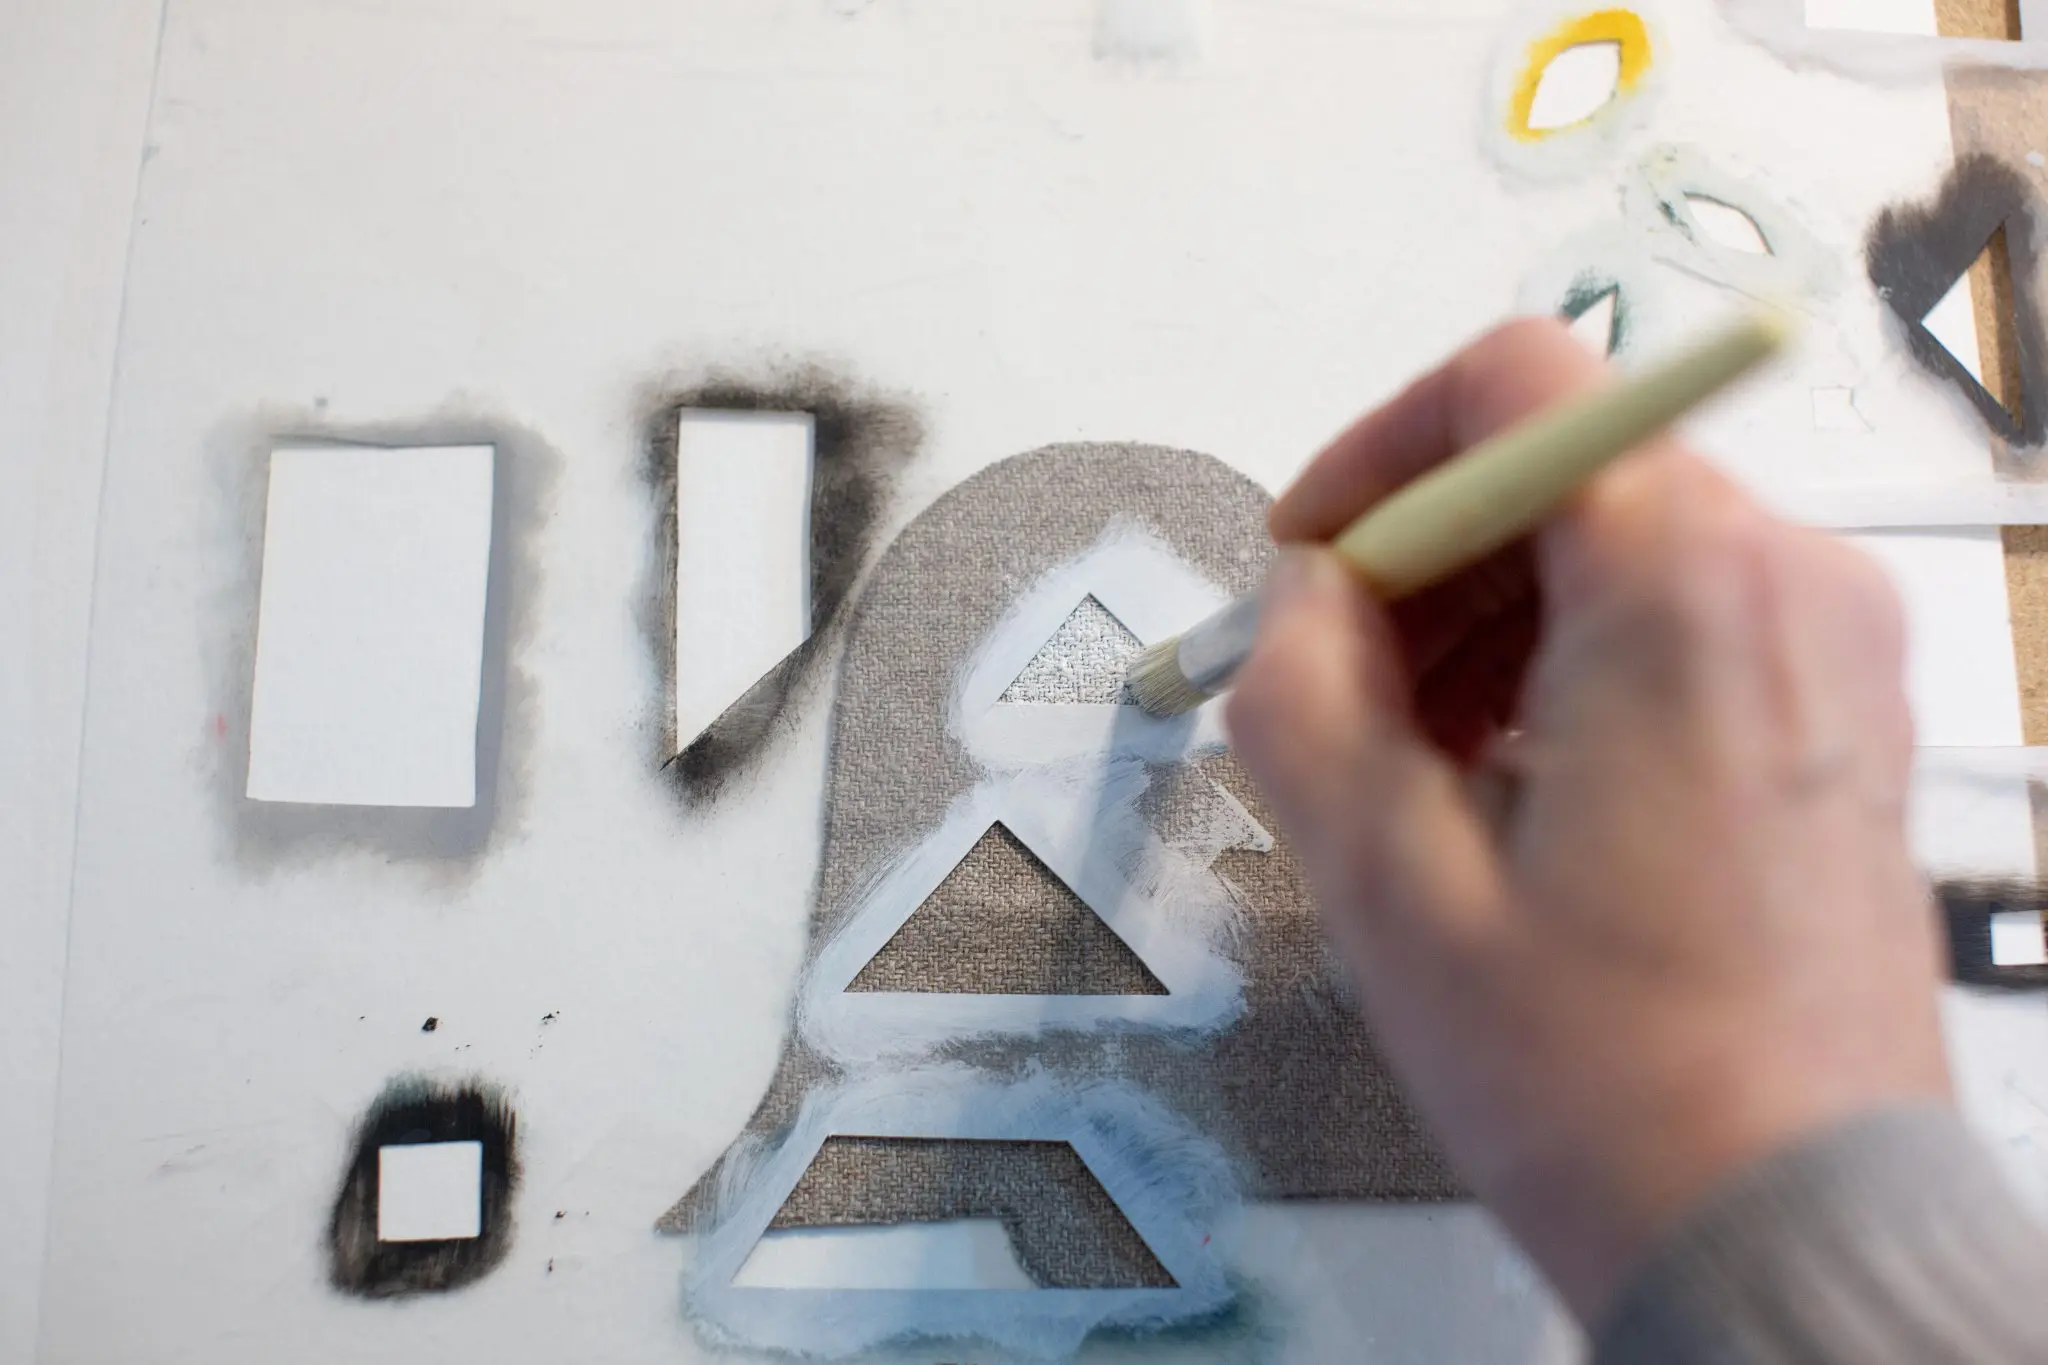
To apply the color, use a stencil brush, remove excess paint on a blue cloth (the texture of the linen twill is coarse, so keep a little more paint than usual in the brush or test on a small piece of linen if this is your first time).
Paint the designs on both sides of the linen ornaments, making sure to turn the bottom part over (the design was done freehand and the shape of the front piece differs somewhat from the back, which could be a problem when assembling the two pieces of linen).
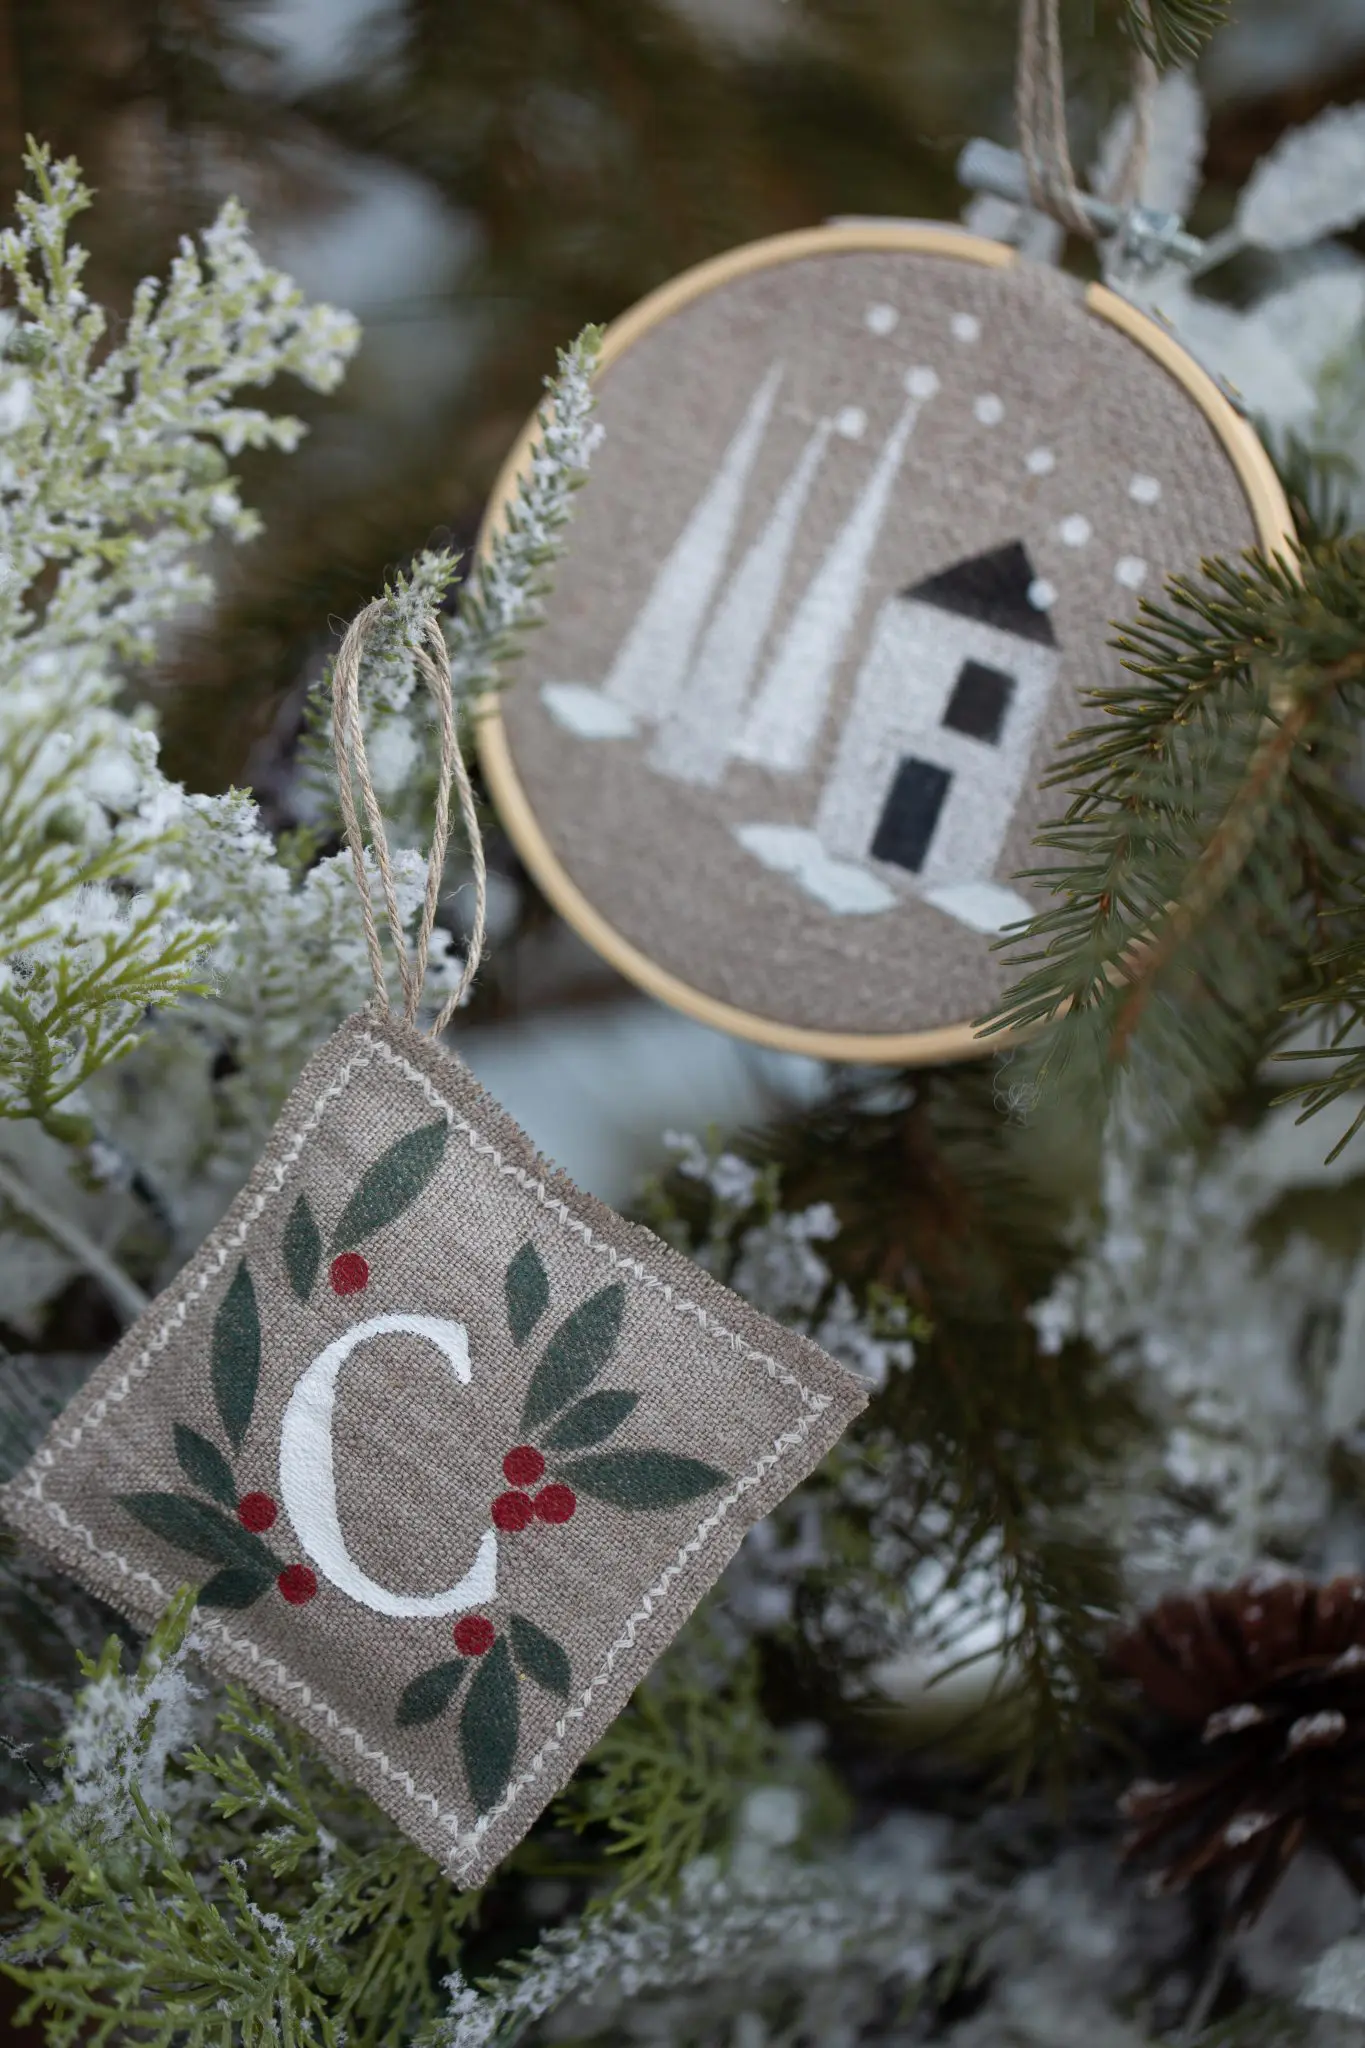
For the initial letter, the ideal would be to use a commercial alphabet stencil. Since I didn’t have one, I painted the letter freehand based on the Cormorant Garamond 85pt capital alphabet.
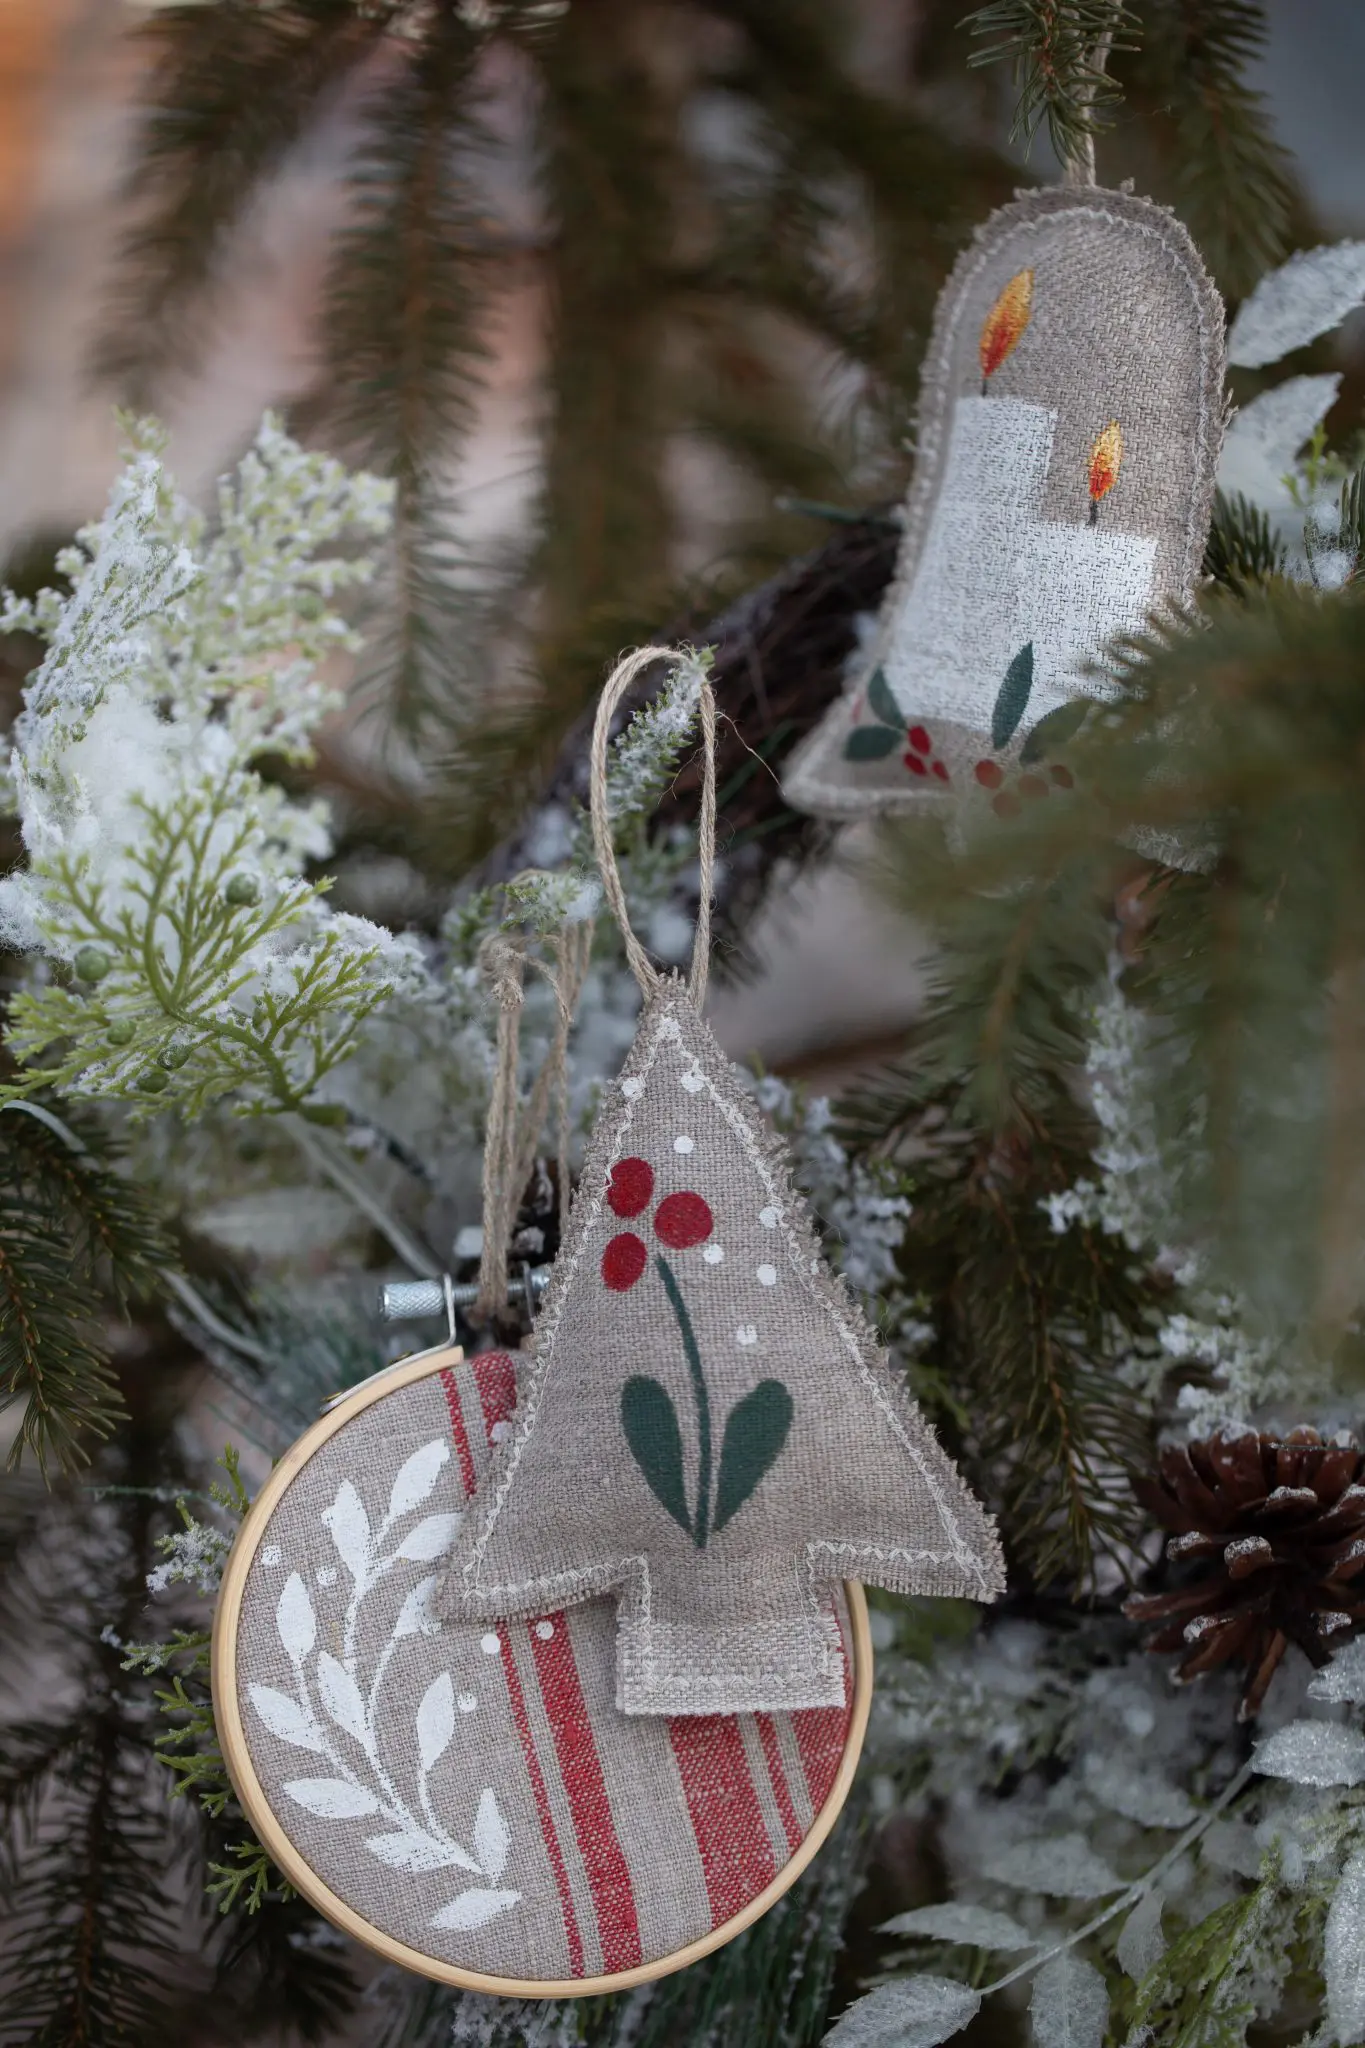
For the mistletoe branch, I first painted the stem with a #3 round brush and then stenciled the leaves.
For the candles, I used the House patterns. For the flame, I used Leaf patterns and the color Golden Straw. Then, using the #3 round brush, I added Country Red at the bottom and Bright Orange a little higher up. To blend it, I used Golden Straw to add a few more strokes. I painted the wick using a liner and black.
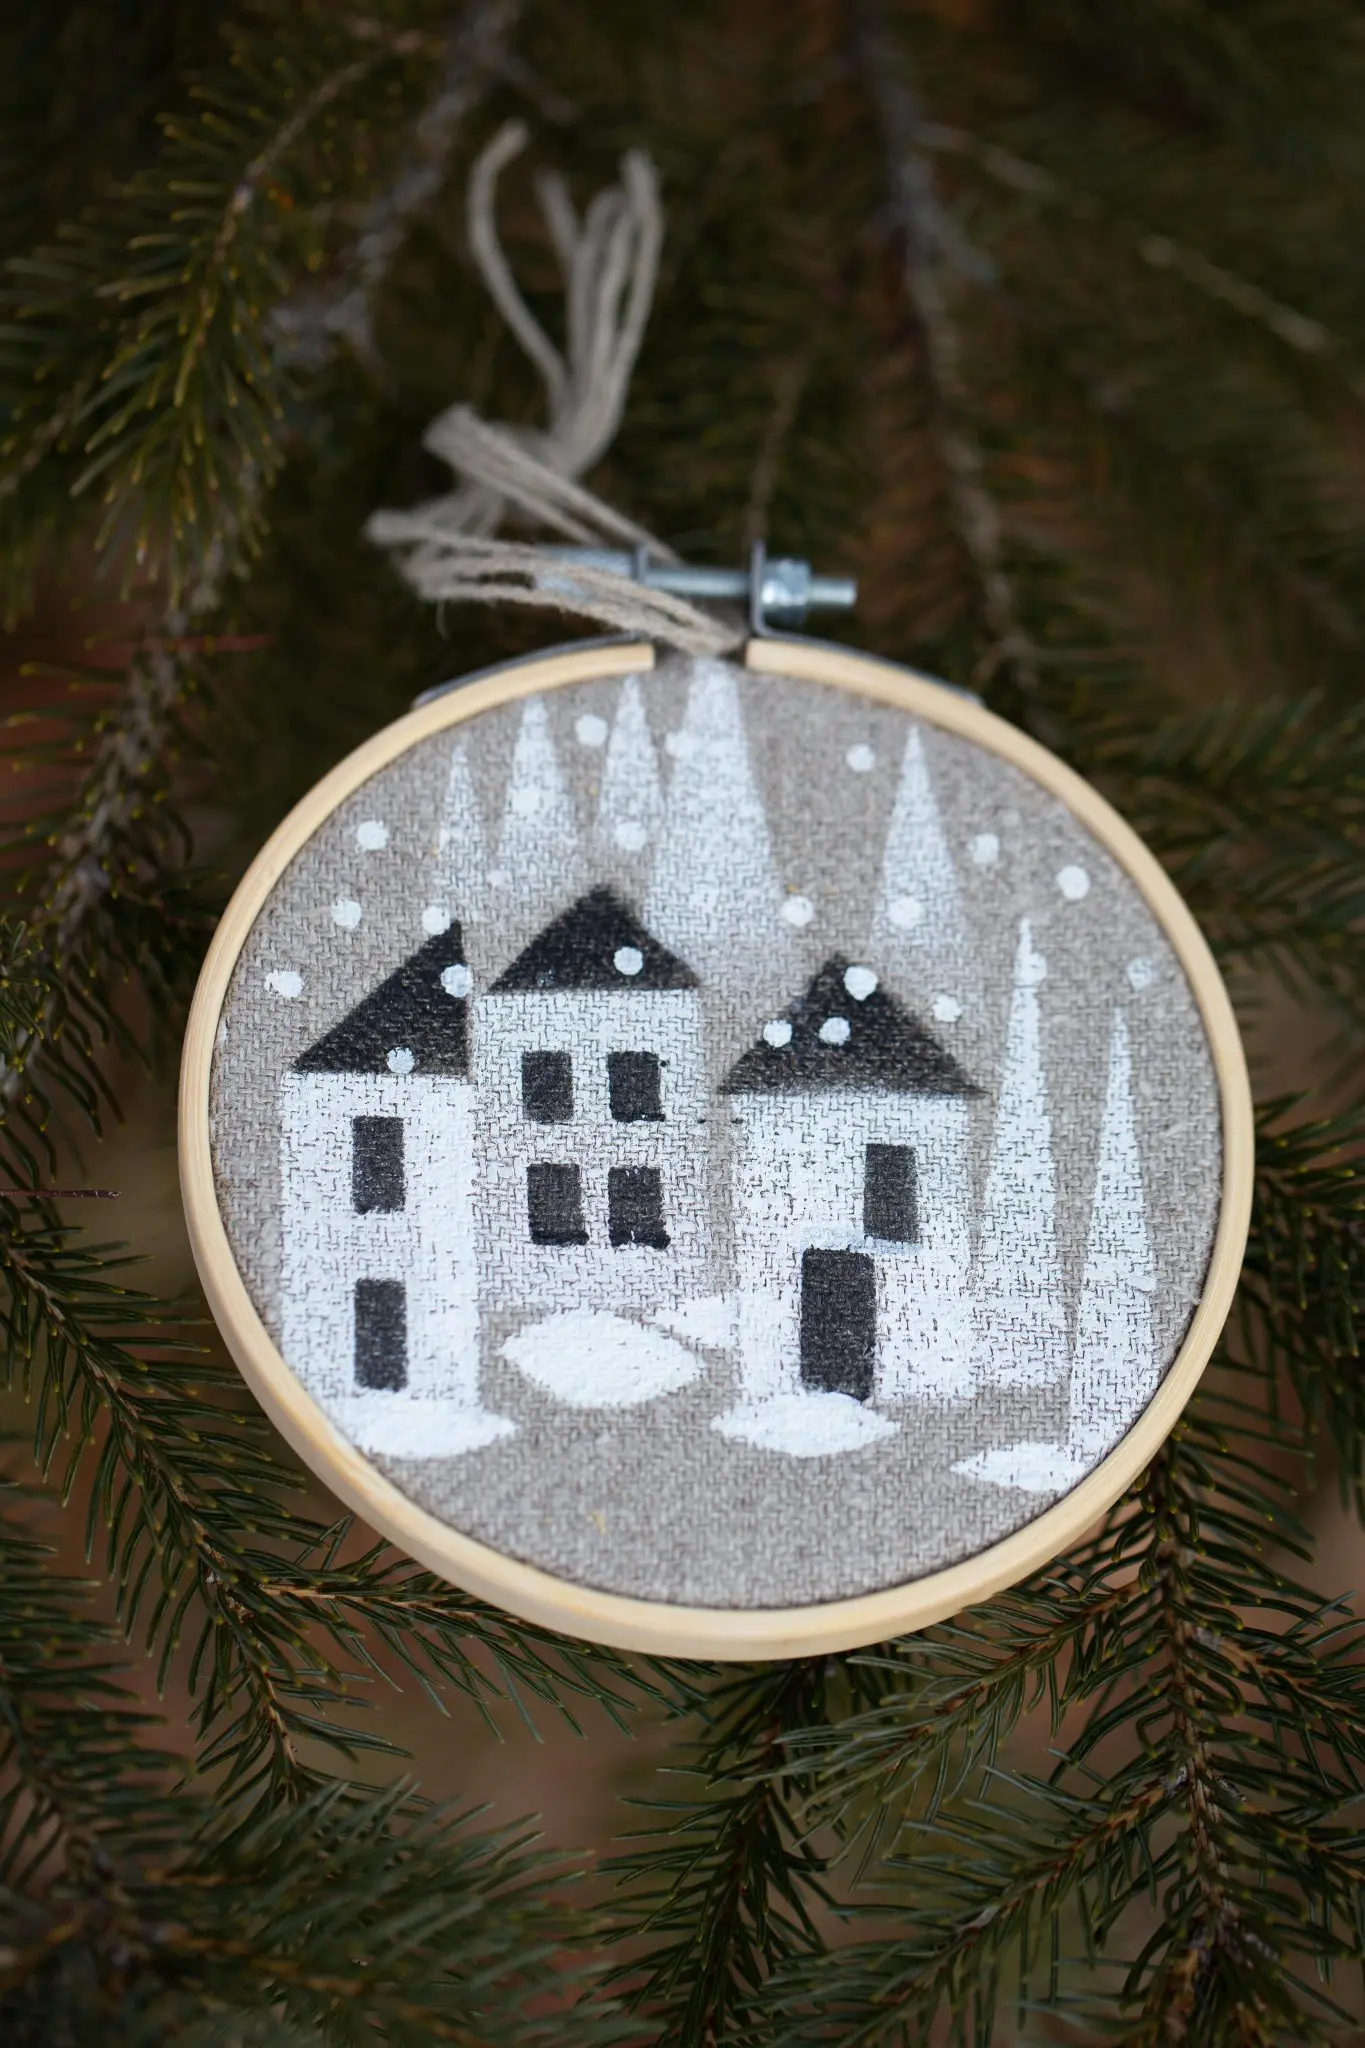
I also used a mask to make other kinds of houses from the stencils I already made. For example, the church roof became a house by rotating the design and painting the base and roof separately, using a mask. Be imaginative with shapes, they can transform and become something else. Thus, the leaves also became the snow under the houses. Also use the photos as inspiration for your compositions.
Sewing


Cut the linen rope into 18″ lengths. Fold in half, then in half again. The resulting loop will be used to hang the ornaments.
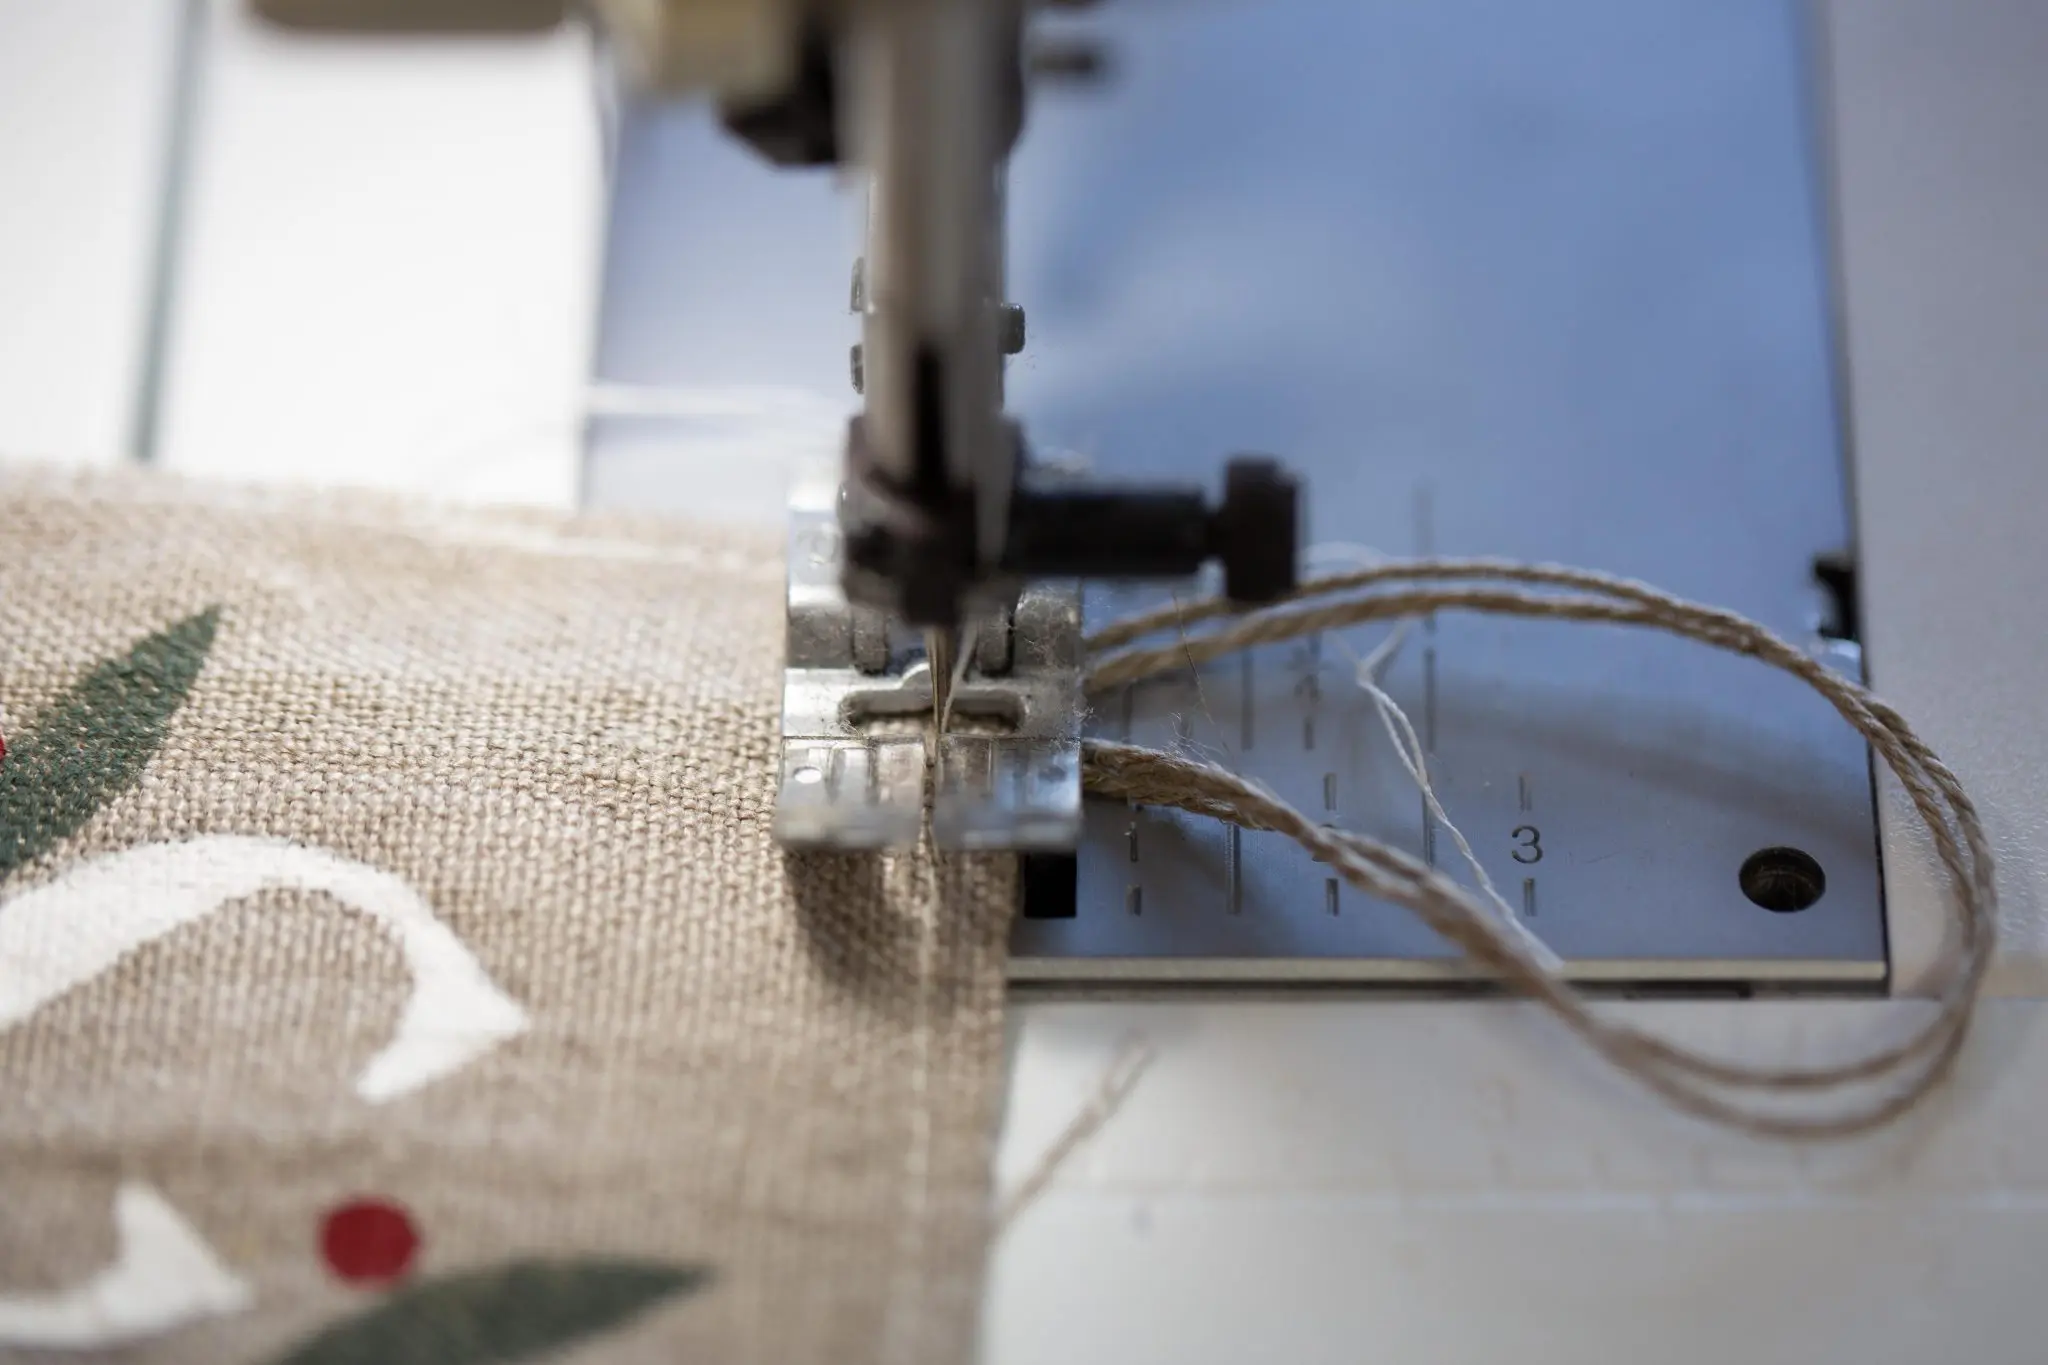
Sew a straight seam 1/8 from the edge of the ornament, starting at its straightest section. Insert the linen loop in the center or corner of the ornaments, depending on their shape, then sew it in place (BE CAREFUL not to forget it!!!). Leave a 1” opening to stuff the ornament.
Use a little polyester stuffing (avoid overstuffing) to stuff the ornament. Close the opening with a straight seam.
Finish the stitching with a zigzag stitch over the straight seam. For my part, I use the stretch zigzag stitch on my sewing machine.
Hang your beautiful treasures on the Christmas tree or give them as gifts…isn’t that the spirit of Christmas?